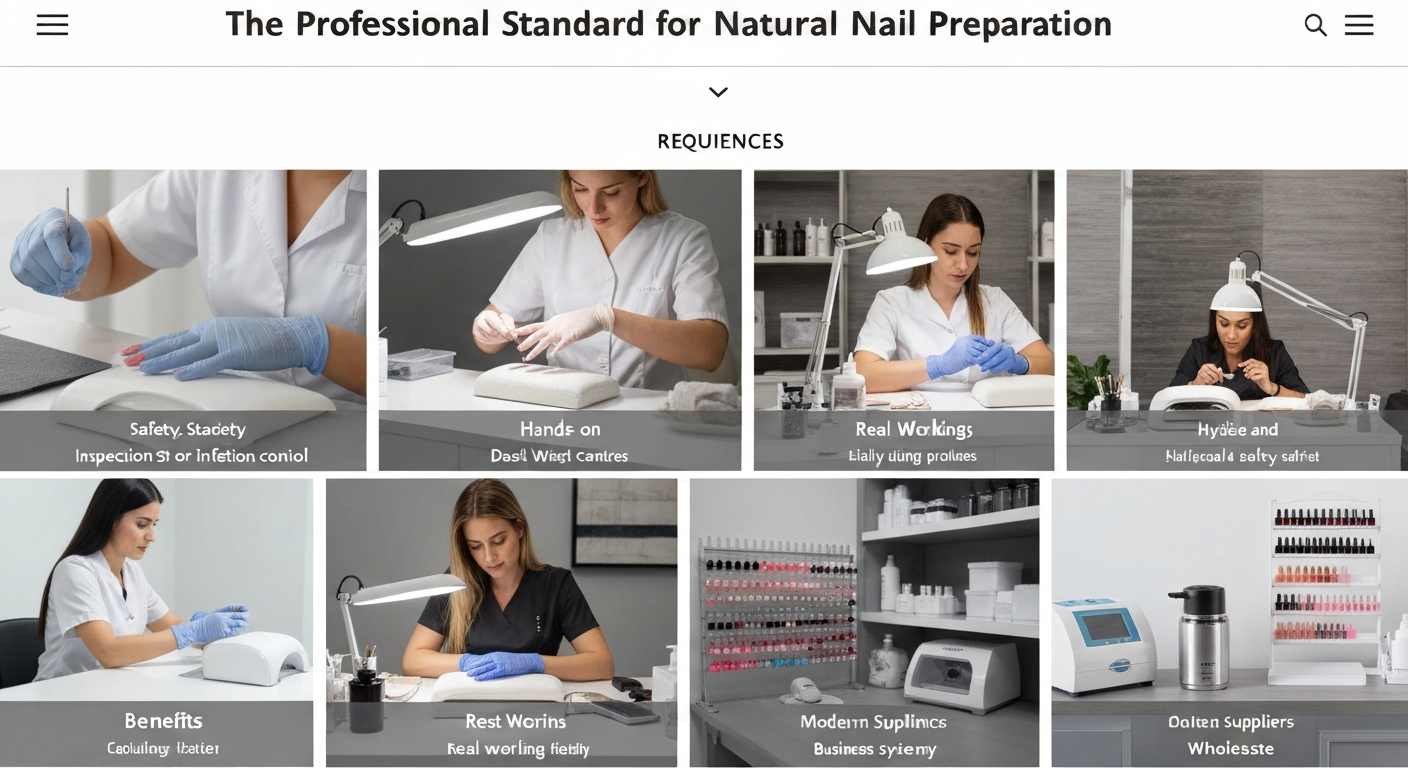
The Professional Standard for Natural Nail Preparation
Service longevity is the number one metric clients use to judge a nail technician. If a set of nails lifts within the first week, the design doesn’t matter.
Lifting is almost exclusively caused by improper preparation of the natural nail plate. Mastering this foundation is crucial for gel, acrylic, and dip powder services.
This guide outlines the industry-standard dry prep protocol designed to maximize adhesion and eliminate service breakdown.
Understanding the Enemy: Pterygium and Oil
The primary cause of product separation is the presence of non-living tissue or contaminants on the nail plate.
True cuticle is the dead skin on the nail plate, often invisible to the naked eye. This is scientifically known as the cuticle, while the living skin is the proximal nail fold.
If product is applied over this tissue, it will not bond to the keratin of the nail. It bonds to the skin, which naturally sheds, taking the enhancement with it.
Step 1: Evaluation and Surface Cleansing
Before touching the client with a tool, sanitize both your hands and the client’s hands. Use a hospital-grade sanitizer.
Inspect the nail plate for signs of infection or damage. Do not proceed if you see signs of greenies (pseudomonas) or severe onycholysis.
Remove any traditional polish or residue using pure acetone. Avoid removers with moisturizing oils, as these create barriers to adhesion.
Step 2: Mechanical Cuticle Management
Pushing back the proximal nail fold is essential to expose the new growth area and create a clean canvas.
- Use a stainless steel pusher with a sharp edge.
- Gently separate the fold from the nail plate.
- Scrape forward to lift the true cuticle (dead tissue) off the plate.
E-File Preparation (Russian/Combi Manicure)
For technicians trained in e-file manicuring, this stage ensures the cleanest results. Improper use here causes “rings of fire.”
Use a fine-grit diamond flame bit at a low RPM (5,000 to 7,000). Keep the bit parallel to the nail plate to exfoliate the cuticle without digging into the lunula.
Step 3: Surface Etching and Texture
Nail enhancements require a textured surface for a mechanical bond. However, you must never thin the natural nail.
Use a 180-grit buffer or a fine sanding band on your e-file. Your goal is solely to remove the surface shine.
Focus on the critical zones: the cuticle area, the lateral sidewalls, and the free edge. These are the most common lifting points.
Remove all dust thoroughly. Dust particles trapped under product will cause air pockets and subsequent lifting.
Step 4: Chemical Preparation
Once the physical prep is complete, you must alter the chemistry of the nail plate to accept the product.
Dehydration
Apply a pH balancing dehydrator. This strips surface moisture and oil. The nail plate should instantly turn a chalky white color.
If the client has hyperhidrosis (sweaty hands), apply this step twice to ensure total dryness before priming.
Priming
Primer acts as the double-sided tape between the natural keratin and the artificial enhancement.
Acid-Free Primer: The industry standard for gel and most acrylics. It acts like a magnet. Apply sparingly; flooding the cuticle with primer can cause chemical burns.
Acid Primer: Used primarily for stubborn acrylic clients. It etches the nail chemically. Use with extreme caution to avoid soft tissue contact.
Step 5: The “No-Touch” Zone
From the moment you begin the dehydration step, you must never touch the nail plate with your fingers.
Your skin contains natural oils that will transfer instantly back to the nail, undoing your prep work.
If the client touches their face or hair during this process, you must re-cleanse with alcohol and re-dehydrate the nail.
Summary of Best Practices
- Sharp Tools: Dull pushers slide over tissue instead of removing it.
- Dust Removal: Scrub the nail with a manicuring brush and alcohol before priming.
- Cap the Free Edge: Seal the distal edge to prevent separation from typing or water exposure.
By adhering to this strict sanitation and preparation protocol, you ensure high retention rates, allowing you to charge premium prices for your nail services.
