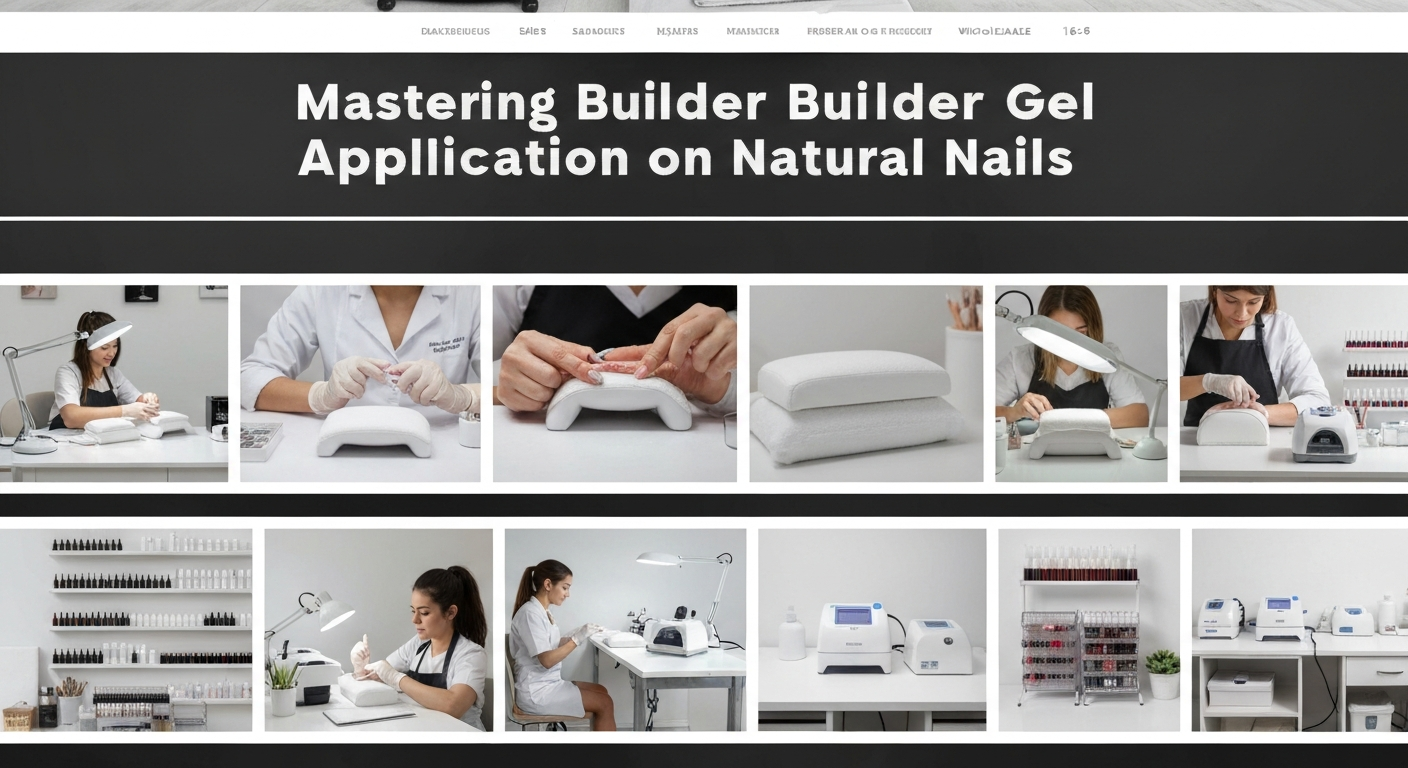
Mastering Builder Gel Application on Natural Nails
Builder gel in a bottle has revolutionized the nail industry. It offers the strength of hard gel with the flexibility required for natural nails.
For nail technicians, mastering this service is essential for increasing revenue. It is a high-demand service that encourages client loyalty.
This guide covers professional application standards to ensure adhesion and durability.
The Foundation: Precision Dry Prep
The longevity of any gel enhancement relies entirely on preparation. Waterless or “dry” manicures are the industry standard for builder gel services.
Water expands the nail plate, which causes lifting as the nail dries and shrinks. Avoid soaking the hands before product application.
Cuticle Work and Exfoliation
Use a sanitized pusher to gently loosen the cuticle from the nail plate. Create a clear pocket between the proximal fold and the nail.
Select a fine-grit diamond bit for your e-file. Keep the RPM between 5,000 and 8,000 to safely exfoliate non-living tissue.
Key safety tip: Keep the bit parallel to the nail plate. Never dig the tip of the bit into the dorsal layer of the nail.
Surface Preparation and Dehydration
Once the cuticle area is clean, you must remove the surface shine. Use a 180-grit sponge buffer or a specialized sanding band.
Buff gently in the direction of the nail growth. The goal is to create texture for adhesion, not to thin the nail plate.
Thoroughly cleanse the nail using 99% Isopropyl Alcohol or a pure acetone mixture. Scrub the sidewalls and cuticle area to remove all dust and oils.
The Slip Layer Technique
Builder gel requires a specific application method to self-level correctly. Do not apply a thick bead immediately.
Apply a very thin, uncured layer of builder gel over the entire nail. This is called the “slip layer” or “wet floor.”
Do not cure this layer. It acts as a guide for your structural bead, allowing the product to flow smoothly without flooding the skin.
Building Structure and the Apex
Pick up a medium-sized bead of gel on your brush. Place it near the cuticle area, leaving a tiny margin of free space.
Gently float the product down the center of the nail towards the free edge. Use a fine liner brush to guide the gel to the sidewalls.
Using Gravity for Alignment
Turn the client’s hand upside down (palm facing up). This allows gravity to pull the gel into the center, forming a natural apex.
Check the reflection of your light line on the gel surface. It should be straight and unbroken.
Flash cure the nail immediately for 10 seconds to lock the structure in place before moving to the next finger.
Refining and Top Coat Application
Once all nails are fully cured according to the manufacturer’s lamp settings, remove the inhibition layer.
Use a cleanser and a lint-free wipe. If the shape needs refining, hand file the free edge and sidewalls now.
Finishing steps:
- File the free edge to a crisp shape.
- Gently buff the surface if you plan to apply gel polish color.
- Remove all dust with a manicure brush.
- Apply a high-gloss top coat and cure for 60 seconds.
Preventing Service Breakdown
Lifting is the most common issue with builder gel services. It is almost always caused by improper prep or product touching the skin.
Always inspect your work before curing. If gel touches the proximal fold or lateral folds, clean it immediately.
Educate your clients to use cuticle oil daily. This keeps the product flexible and prevents the natural nail from curling away from the gel.
