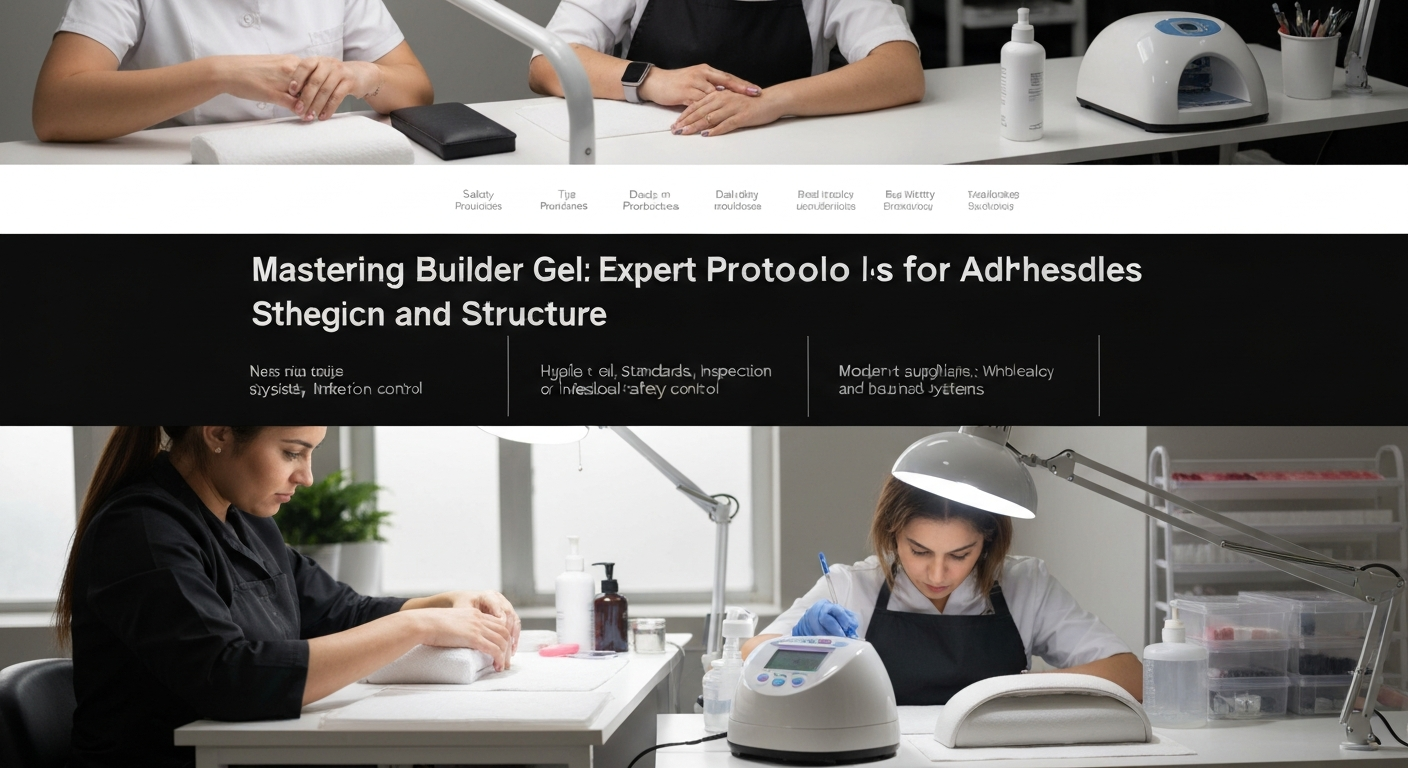
Mastering Builder Gel: Expert Protocols for Adhesion and Structure
Builder gel in a bottle has revolutionized the nail industry.
It allows nail technicians to offer strength and structure with the speed of a gel polish service.
However, lifting remains the number one complaint among clients and technicians alike.
Lifting is rarely a product fault; it is almost always a breakdown in the application or preparation protocol.
To establish yourself as a top-tier nail professional, you must master the chemistry and mechanics of adhesion.
This guide covers the industry standards for flawless builder gel application.
Step 1: The Foundation of Dry Manicuring
Water is the enemy of long-lasting gel enhancements.
Nail plates are porous and act like a sponge, expanding when they absorb water.
If you apply a rigid product like builder gel to a hydrated, expanded nail plate, the product will pop off as the nail dries and shrinks.
Essential Prep Protocol
- Sanitize: Always start by sanitizing your hands and the client’s hands.
- Push Back: gently push back the proximal nail fold (cuticle area) to expose the true cuticle on the nail plate.
- Exfoliate: Use a diamond cuticle bit (flame or cone) with an e-file at low RPM to remove dead tissue.
- Dead Tissue Removal: Any remaining cuticle on the nail plate creates a barrier that prevents adhesion.
Step 2: Surface Preparation and Etching
Gel products require a textured surface to grab onto.
A smooth, shiny nail plate offers no mechanical lock for the chemical bond.
You must create a surface profile that allows the base gel to penetrate the upper layers of keratin.
Correct Grit Usage
Using a file that is too coarse can damage the natural nail, while a file that is too fine won’t create enough texture.
- Use a 180 to 240 grit buffer or file.
- Gently remove the surface shine from the entire nail plate, including the sidewalls and near the cuticle.
- Remove dust thoroughly using a stiff manicure brush and pure acetone or a specialized cleanser.
Step 3: Chemical Dehydration and Priming
Once the physical prep is complete, chemical preparation ensures a clean canvas.
Oils and moisture are the primary causes of pocket lifting.
Dehydrator
Apply a pH bond or dehydrator to the natural nail.
Watch for the nail to turn a chalky white color, indicating that surface moisture has evaporated.
Primer Application
Choose the right primer for your system, but apply it sparingly.
Acid-Free Primer: Acts as double-sided tape. It leaves a sticky layer for the gel to adhere to.
Acid Primer: Etches the nail chemically. Use only for clients with problematic lifting history.
Pro Tip: Do not flood the cuticle with primer. If primer touches the skin, it can lead to over-exposure allergies and product running.
Step 4: The Scrubbing Technique
Many nail technicians apply their base layer like a standard polish.
For builder gel, which is thicker and more rigid, this is insufficient for maximum adhesion.
You need to force the product into the keratin structure you opened up during prep.
How to Scrub the Base
- Apply a thin layer of clear base gel or the builder gel itself (if it is a 2-in-1 system).
- Use a separate gel brush to firmly “scrub” the product into the nail plate.
- Cure this layer fully before proceeding to the building step.
- This creates a “safety layer” that protects the natural nail during future infills.
Step 5: Building the Apex and Structure
Builder gel is designed to provide strength, which requires an apex.
Flat application leads to stress cracks at the stress area (where the free edge leaves the nail bed).
The Slip Layer Method
Apply a thin, uncured slip layer of builder gel over the entire nail.
Do not cure yet. Pick up a larger bead of gel and place it near the cuticle (about 1-2mm away).
Gently guide the bead down the center of the nail to the free edge.
Gravity is your friend: Turn the client’s hand over for 5-10 seconds to allow the gel to self-level and form a perfect apex.
Step 6: The Final Cure and Finish
Proper curing is non-negotiable for safety and longevity.
Undercured gel can cause chemical burns, contact dermatitis, and service breakdown.
Curing Standards
Ensure your lamp matches your gel system’s wavelength requirements (usually 365nm + 405nm for LED).
Check that the client’s hand is placed correctly with fingers centered under the bulbs.
If you file the builder gel to refine the shape, wipe the inhibition layer off first to prevent gumming up your file.
Finish with a high-quality top coat, ensuring you cap the free edge to seal the layers.
Summary for Salon Success
Consistency is key in salon operations.
Following these steps for every single client ensures that your retention rates remain high.
When clients go 3 to 4 weeks with zero lifting, they become loyal, recurring revenue for your nail business.
Invest time in your prep, and the product will do the rest.
