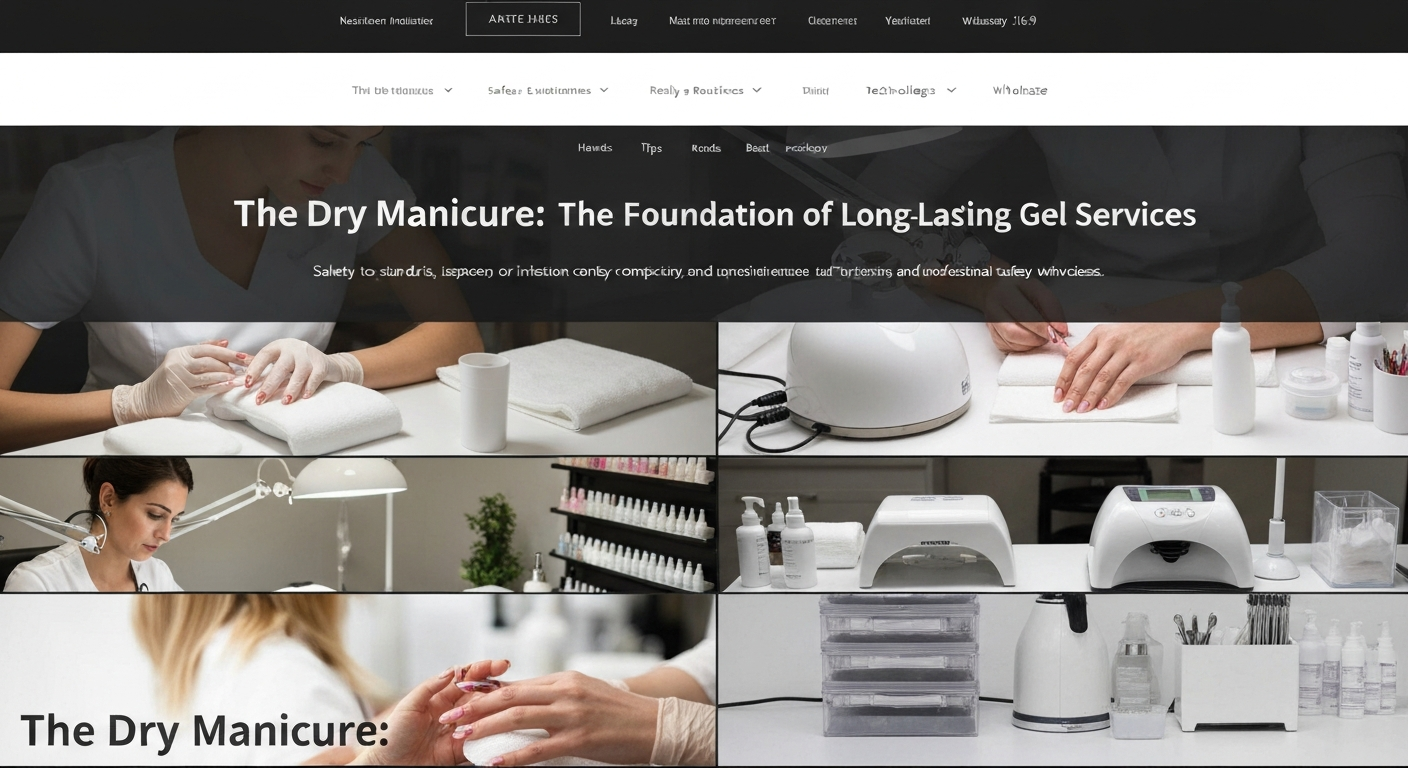
The Dry Manicure: The Foundation of Long-Lasting Gel Services
For professional nail technicians, service longevity is the ultimate measure of success. A beautiful design means nothing if the nails lift within a week.
The secret to 4+ weeks of wear lies almost entirely in the preparation. This brings us to the industry standard: the dry manicure.
Unlike traditional soaking methods, dry prep ensures the nail plate remains rigid and dehydrated, creating the perfect canvas for gel adhesion.
Why Water is the Enemy of Gel Adhesion
Nail plates are like sponges. When soaked in water, they expand and change shape. If you apply gel to a water-logged nail, the product cures to that expanded shape.
As the natural nail dries and shrinks back to its original form, it pulls away from the cured gel product.
This separation causes instant service breakdown and lifting at the free edge or cuticle area.
Step-by-Step Dry Prep for Nail Technicians
Executing a flawless dry manicure requires precision tools and an understanding of nail anatomy. Follow this workflow to maximize retention.
1. Pushing Back the Proximal Nail Fold
Begin by gently pushing back the proximal nail fold (often mistakenly called the cuticle) to expose the new growth area.
Use a high-quality stainless steel pusher or an orange wood stick. The goal is to create a clear pocket without causing pain or inflammation.
Pro Tip: Ensure your pusher follows the curvature of the nail plate to avoid scratching the surface or digging into the matrix.
2. Removing the True Cuticle (Pterygium)
The true cuticle is the dead, white, flaky skin stuck to the nail plate. This is the number one cause of lifting at the base.
Gel polish cannot adhere to skin cells. If any cuticle remains on the plate, the gel will bond to the skin, not the keratin.
Use a diamond flame bit or a sharp curette to gently exfoliate this dead tissue from the nail plate near the sinuses and lateral folds.
3. Mechanical Etching vs. Buffing
To create a mechanical bond, you must remove the surface shine and create texture for the base coat to grip.
Use a 180-grit sponge buffer or a fine sanding band on your e-file at a low RPM.
You are not thinning the nail; you are simply raising the keratin scales. Be thorough near the sidewalls, as this is a common lifting point.
Chemical Preparation Standards
Once the physical prep is complete, you must chemically prepare the surface to alter the pH balance and remove contaminants.
- Cleansing: Scrub the nail plate with a lint-free wipe saturated in 99% Isopropyl Alcohol or a pure cleanser to remove dust and oils.
- Dehydrator: Apply a dehydrator to strip moisture from the layers of the nail plate.
- Primer/Bonder: Use a non-acid primer for standard clients to act as double-sided tape between the keratin and the base gel.
Avoiding Skin Contact
The final pillar of retention is application control. Even with perfect prep, touching the skin with gel kills longevity.
If uncured gel touches the eponychium or sidewalls, it creates a ledge once cured. Water and oil will seep under this ledge, forcing the product up.
Always leave a microscopic margin between the product and the skin. Use a liner brush to refine your application line before curing.
Tools Checklist for Dry Manicures
Ensure your station is equipped with the following professional-grade tools for this service:
- Professional E-File: A low-vibration machine prevents damage to the natural nail.
- Diamond Bits: Fine grit flame or ball bits for cuticle exfoliation.
- 180-Grit Buffer: Essential for gentle surface etching without thinning the plate.
- Dust Brush: A stiff manicure brush to remove debris from the lateral folds before product application.
Mastering the dry manicure is the single most effective way to increase your prices and build a loyal clientele.
When clients realize their nails last 3 to 4 weeks without catching or lifting, they will value your technical expertise over discount salons.
