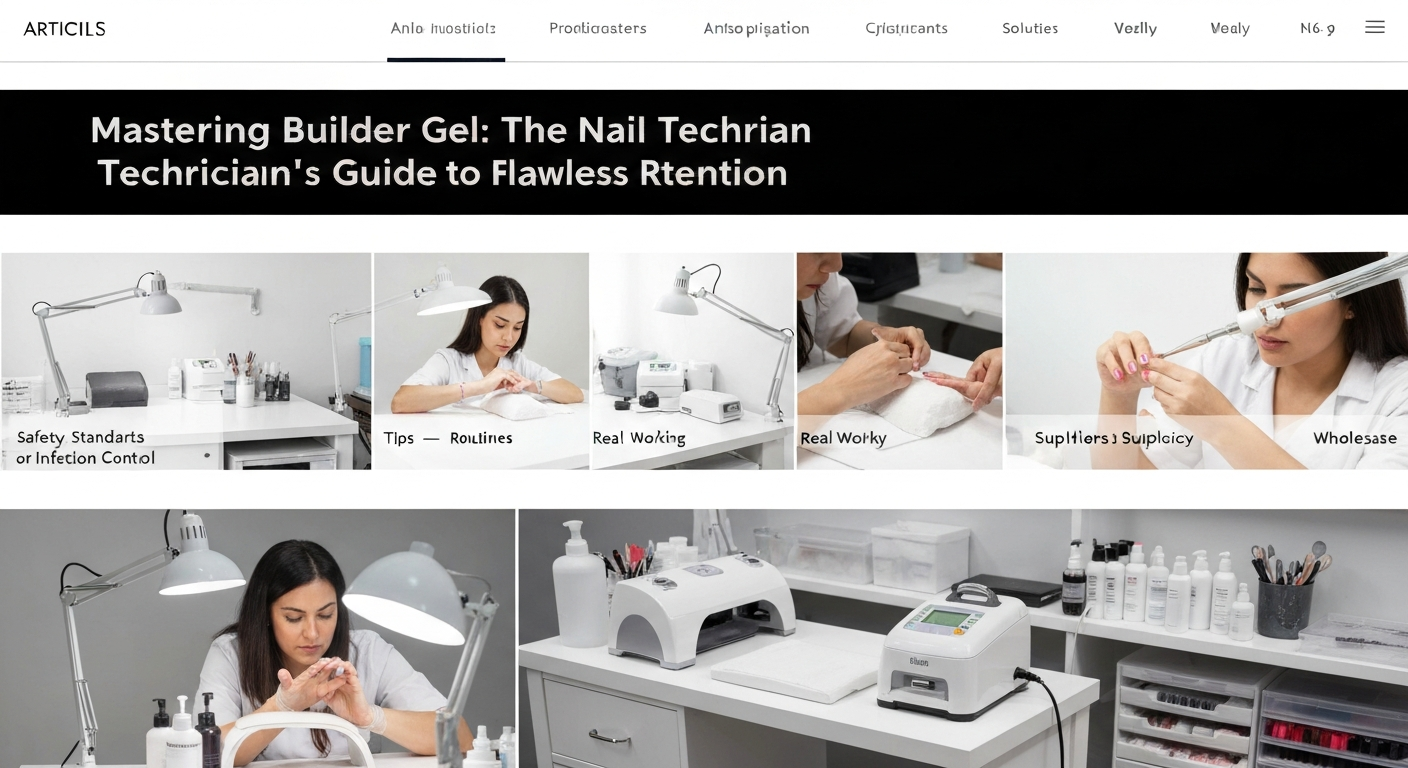
Mastering Builder Gel: The Nail Technician’s Guide to Flawless Retention
For professional nail technicians, retention is the ultimate benchmark of success. When clients return with nails intact after four weeks, it builds trust and allows you to increase your service prices.
Builder gel in a bottle (often called BIAB or soft gel builder) has revolutionized salon workflows. However, improper application often leads to lifting at the cuticle area or pocket lifting in the center.
This guide breaks down the technical standards for applying builder gel to ensure maximum adhesion and structural integrity.
The Foundation: Precision Dry Manicure Prep
Product lifting is almost always a result of improper nail plate preparation. Before touching a bottle of gel, the canvas must be mechanically prepared to bond with the product.
1. Cuticle Work and Non-Living Tissue
Gel will not bond to skin or non-living tissue. Use a pusher to gently open the eponychium pocket. If you use an e-file, select a fine-grit diamond bit (flame or ball) to exfoliate the cuticle area safely.
2. Surface Etching
Create mechanical adhesion by removing the surface shine. Use a 180-grit sanding band on a low RPM or a hand buffer. The goal is to create texture, not to thin the natural nail plate.
3. Dehydration and Cleansing
Dust is the enemy of adhesion. Thoroughly cleanse the nail plate with pure acetone or a specialized cleanser and a lint-free wipe. Ensure the sidewalls are completely free of debris.
Chemical Adhesion: Primers and Bonds
Once the nail is mechanically prepped, chemical preparation ensures the product anchors to the keratin structure of the nail.
- Dehydrator: Apply to strip any remaining oils. The nail plate should appear chalky white immediately after drying.
- Primer: Use a non-acid primer for most clients. It acts as double-sided tape between the natural nail and the gel. Apply sparingly; flooding the cuticle with primer can actually cause lifting.
The Scrub Method: The Secret to Anchor Layers
Many soft builder gels require a base coat or a “scrub layer” of the builder itself. Do not skip this step.
Apply a very thin amount of clear base gel. Use your brush to firmly “scrub” the product into the etched grooves of the nail plate. This ensures the gel penetrates the keratin layers rather than sitting on top.
Cure this layer fully according to your lamp’s manufacturer instructions (usually 30 to 60 seconds).
Structure Building: The Slip Layer Technique
Applying builder gel requires a different hand movement than traditional gel polish. You must build an apex to support the stress area.
Step 1: The Slip Layer
Apply a thin, wet layer of builder gel over the entire nail. Do not cure this yet. This uncured layer acts as a guide, allowing the larger bead of gel to self-level smoothly without flooding the sidewalls.
Step 2: The Apex Bead
Pick up a medium-sized bead of gel on your brush. Place it near the cuticle area (leaving a tiny margin) and gently guide it down the center of the nail.
Step 3: Gravity Leveling
Use a liner brush (detailer brush) to pull the product towards the sidewalls and free edge. Flip the client’s hand palm-up for a few seconds. Gravity will pull the gel to the center, creating a natural apex curve.
Curing and Refining the Shape
Once the structure is perfect, flash cure immediately to freeze the product in place. Full cure for 60 seconds in a high-quality LED lamp.
Removing the Inhibition Layer
After curing, wipe off the sticky inhibition layer with alcohol. This is crucial before filing.
Refining the Free Edge
Even with self-leveling gel, you may need to crisp up the shape. Use a hand file to straighten the sidewalls and refine the free edge. Look down the barrel of the nail to ensure the thickness is consistent—about the width of a credit card.
Troubleshooting Common Lift Causes
If your clients are still experiencing lifting, audit your process against these common errors:
- Bulbs are too old: If your lamp creates heat spikes but doesn’t cure thoroughly, the bulbs may be degrading. Under-cured gel causes allergies and lifting.
- Product touching skin: If gel touches the lateral folds or eponychium, it will lift as the skin moves. Always leave a hairline gap.
- Applied too thick: Applying builder gel too thickly near the cuticle creates a ridge that catches on hair and clothing, forcing the product up.
Mastering builder gel requires patience and a strict adherence to sanitation and prep protocols. By focusing on mechanical adhesion and proper structure, you will elevate your service quality and client retention rates.
