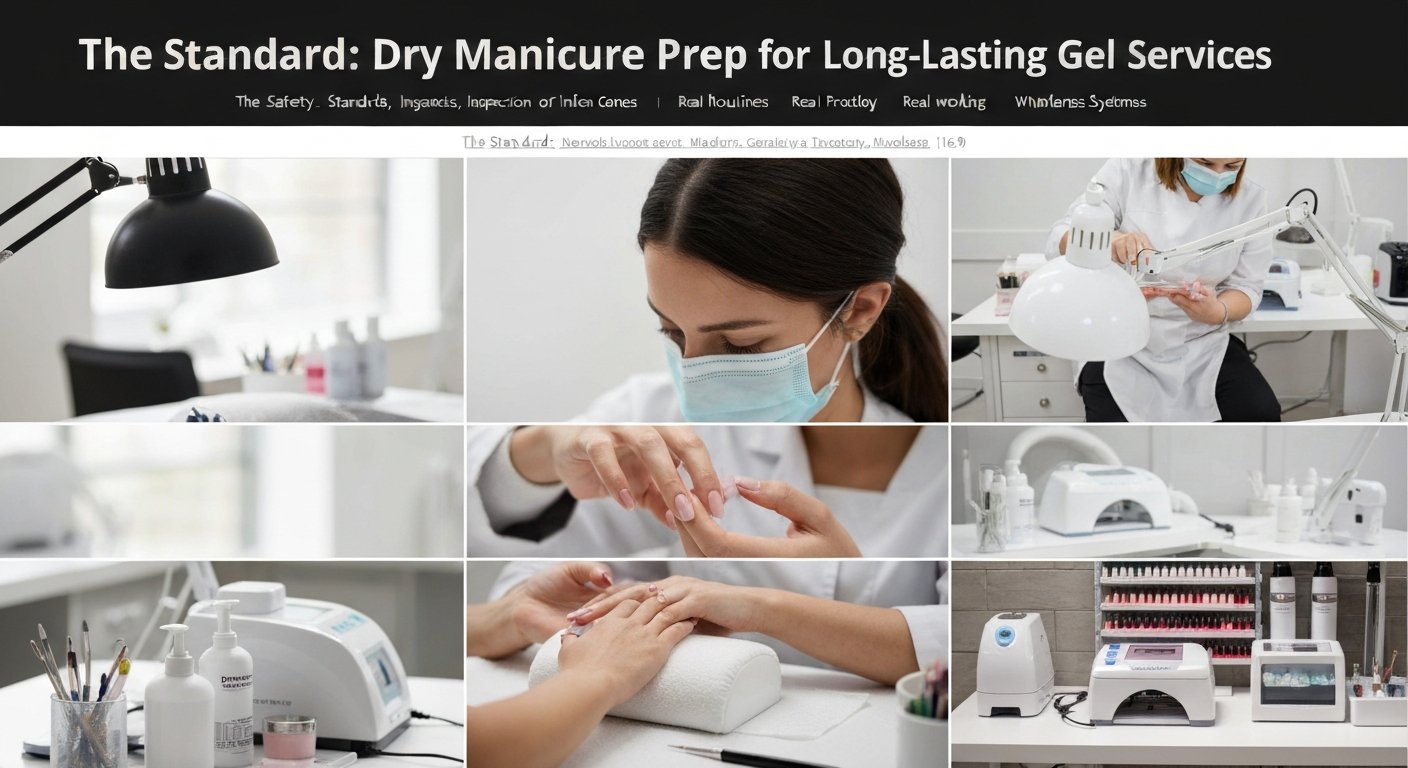
The Standard: Dry Manicure Prep for Long-Lasting Gel Services
For professional nail technicians, service longevity starts with preparation. In the modern nail industry, the “dry manicure” has become the gold standard for gel polish, builder gel, and acrylic enhancements.
Unlike water-based manicures, which expand the nail plate and lead to lifting, dry prep ensures the natural nail is rigid and ready for chemical bonding.
This guide outlines the professional workflow for safe, effective dry manicuring designed to maximize retention and client satisfaction.
Why Water is the Enemy of Gel Retention
Nail plates are porous. Soaking nails in water causes them to act like a sponge, expanding and changing shape. If you apply gel products immediately after soaking, the nail plate is distorted.
As the nail dries and returns to its natural C-curve hours later, it pulls away from the cured product. This is a primary cause of premature lifting and service breakdown.
Key Benefit: Dry manicuring prevents moisture absorption, ensuring the product bonds to a stable foundation.
Essential Tools for Dry Prep
To perform a safe dry manicure, your station must be equipped with high-quality, sanitized tools. Precision is critical when working near the proximal nail fold.
- Professional E-File: A low-vibration machine capable of low RPMs (5,000 – 10,000 RPM) for natural nail work.
- Diamond Bits: Flame or cylinder bits (fine grit) for lifting and exfoliating the cuticle.
- Manual Pusher: A sharp, stainless steel pusher to open the cuticle pocket before filing.
- Nippers or Scissors: For removing only the detached, white non-living tissue.
- Cleansing Solution: 90% Isopropyl Alcohol or pure acetone for dehydration.
Step 1: Opening the Proximal Fold
Before touching the nail with an E-file, you must manually separate the skin from the nail plate. This creates a safety zone for your bit.
Gently use your metal pusher to lift the proximal nail fold. Ensure the tool is flush against the nail plate to avoid scraping layers of keratin.
Pro Tip: If the cuticle is tight, do not force it. Work effectively, not aggressively.
Step 2: E-File Exfoliation Techniques
Using an E-file for cuticle work requires training and a light hand. The goal is to remove the true cuticle—the thin layer of dead skin stuck to the nail plate—without cutting the living skin (eponychium).
Selecting the Right Bit
Use a fine-grit diamond flame bit. The shape allows you to get into the sinus areas and lateral sidewalls.
Set your E-file to a low speed (Forward direction for right-handed techs). Glide the bit parallel to the nail plate without applying downward pressure.
Lifting the Skirt
Gently run the bit along the lifted proximal fold to exfoliate dead tissue and “lift the skirt” of the eponychium. This reveals the true application line.
Keep the bit constantly moving to prevent heat spikes. Dust the nail frequently to maintain visibility.
Step 3: Removing Non-Living Tissue
Once the cuticle is lifted and the nail plate is exfoliated, you may see a white, fringed line of dead skin standing up.
Use your sharp nippers or cuticle scissors to trim only this continuous strip of translucent, non-living tissue.
Safety Rule: If it is pink, do not cut it. Cutting living tissue causes bleeding, opens the door to infection, and causes the skin to grow back harder/thicker.
Step 4: Surface Etching and Dehydration
Chemical adhesion requires a textured surface. Using a 180 or 240-grit buffer or sanding band, gently remove the surface shine from the entire nail plate.
Focus on the cuticle area and sidewalls where lifting starts. You are not thinning the nail; you are simply raising the keratin fibers.
Thoroughly cleanse the nail with pure alcohol and a lint-free wipe. Scrub the plate to remove all dust and oils.
Conclusion
A meticulous dry manicure is the difference between a set that lasts two weeks and one that lasts four. By mastering these E-file techniques and avoiding water, you elevate your salon’s standard of care.
