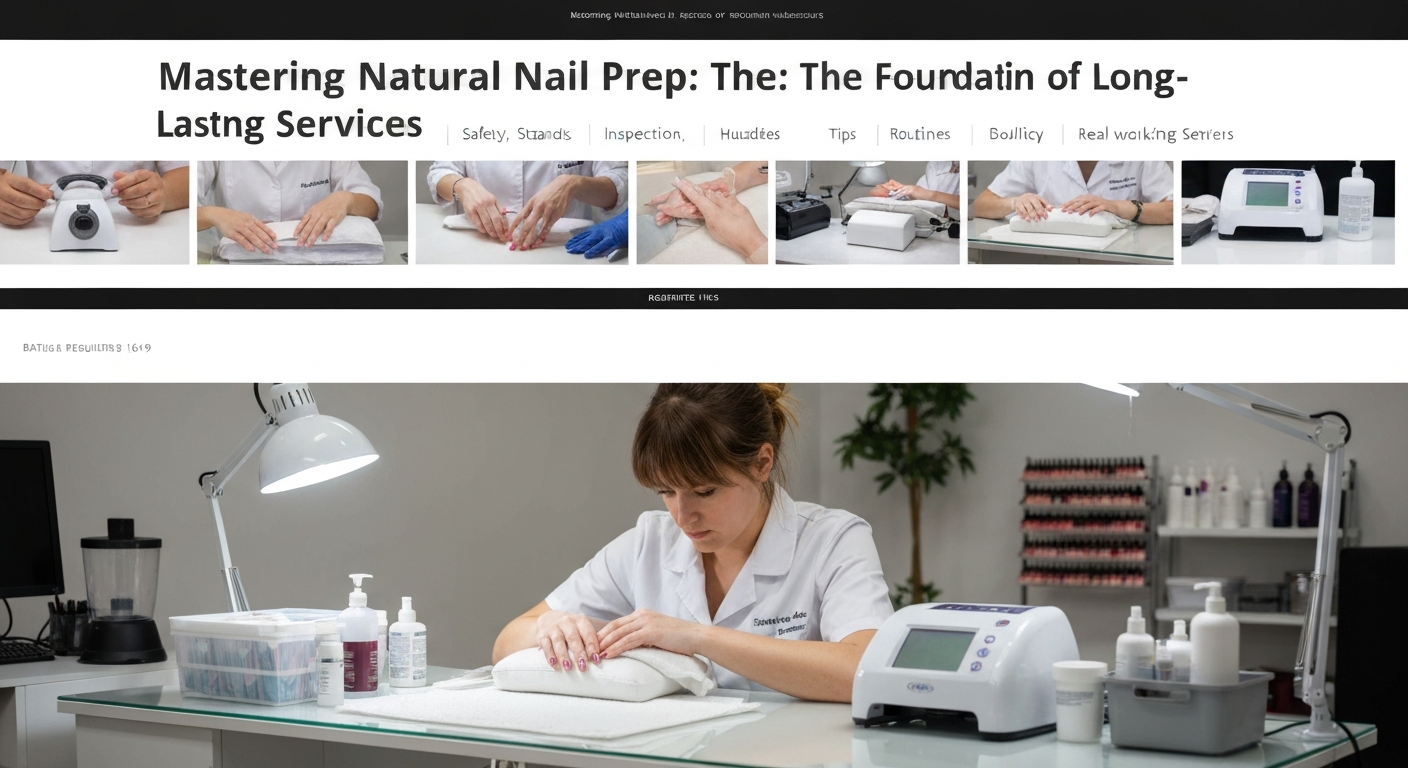
Mastering Natural Nail Prep: The Foundation of Long-Lasting Services
For any professional nail technician, the longevity of a manicure is the ultimate test of skill. Whether you are applying gel polish, acrylic, or soft gel tips, the service is only as strong as the preparation underneath it.
Improper prep is the leading cause of service breakdown, including lifting, chipping, and pocketing. To build a loyal clientele, you must master the technical art of natural nail preparation.
This guide outlines the industry standards for preparing the nail plate, ensuring maximum adhesion for every product system you use in the salon.
1. Client Consultation and Plate Analysis
Before touching a tool to the nail, a visual and physical analysis is mandatory. You must assess the health of the nail plate to determine which prep method and product system will work best.
Check for signs of infection, such as green spots (pseudomonas), thinning from previous over-filing, or onycholysis (separation of the nail plate). Never service an infected nail.
Identify the nail type. Oily nail plates may require a double coat of primer, while dry, brittle nails need a gentler approach to avoid further dehydration and delamination.
2. Precision Cuticle Work
The term “cuticle work” is often misunderstood. As a professional, you are primarily removing non-living tissue attached to the nail plate, technically known as the cuticle, not the living skin of the eponychium.
Any remaining tissue on the nail plate acts as a barrier between the keratin and your product. This causes immediate lifting as the product adheres to the skin cells rather than the nail plate.
Manual Prep vs. E-File Prep
Manual Prep: Use a stainless steel pusher to gently lift the eponychium and scrape away the dead cuticle tissue. Ensure your pusher is sharp and sanitized.
E-File (Russian/Dry) Prep: Using a diamond bit (flame or cylinder) at a low RPM allows for thorough exfoliation of the lateral folds and sinus area. This method clears the “invisible” cuticle often missed by manual tools.
Whichever method you choose, safety is paramount. Never apply pressure downward into the matrix, as this causes “rings of fire” and permanent damage to nail growth.
3. Surface Refinement and Etching
Once the tissue is removed, the surface of the nail plate must be prepared to bond with the product. This process is often called “etching” or “removing the shine.”
Using a 180-grit to 240-grit buffer or file, gently buff the surface in the direction of nail growth. The goal is to raise the keratin scales slightly to create a mechanical latch for the product.
Crucial Rule: Do not over-file. You are removing shine, not layers of the nail plate. Aggressive filing thins the nail, making it flexible and prone to product separation.
4. Dust Removal and Cleansing
Dust is the enemy of adhesion. After filing, microscopic particles of keratin and skin debris settle into the lateral sidewalls and the etched grooves of the nail plate.
Use a stiff manicure brush to scrub the nails downward. Follow this by cleansing the nail plate with a lint-free wipe saturated in 99% Isopropyl Alcohol or a specialized cleanser.
This step serves two purposes: removing physical debris and temporarily dehydrating the top layers of the nail plate to strip away surface oils.
5. Chemical Preparation: Dehydrators and Primers
The final step before base coat or acrylic application is chemical preparation. This alters the pH of the nail plate to make it more compatible with the chemical makeup of your enhancement product.
Step 1: pH Bond / Dehydrator
Apply a liquid dehydrator to the entire natural nail. This evaporates instantly, drawing out moisture and oil. Watch for the nail to turn a chalky white color, indicating it is fully dry and ready.
Step 2: Primer Application
Acid-Free Primer: The modern industry standard. It acts like double-sided tape, bonding to the keratin and the product. Apply thinly; flooding the cuticle with primer can cause chemical burns.
Acid Primer: Used rarely, typically for acrylics on problematic “lifters.” It utilizes methacrylic acid to etch the nail chemically. Use with extreme caution to avoid skin contact.
Summary of Best Practices
- Sanitize: Always start with clean hands and sterile tools.
- Exfoliate: Remove all non-living tissue from the nail plate.
- Etch: Remove shine gently without thinning the plate.
- Cleanse: Use pure alcohol or cleanser; avoid products with lanolin or oils.
- Prime: Use the correct primer for your specific product system (gel vs. acrylic).
By strictly adhering to this prep protocol, you minimize service breakdowns and establish a reputation as a high-quality nail technician. Remember, beautiful nail art means nothing if the canvas falls off in three days.
