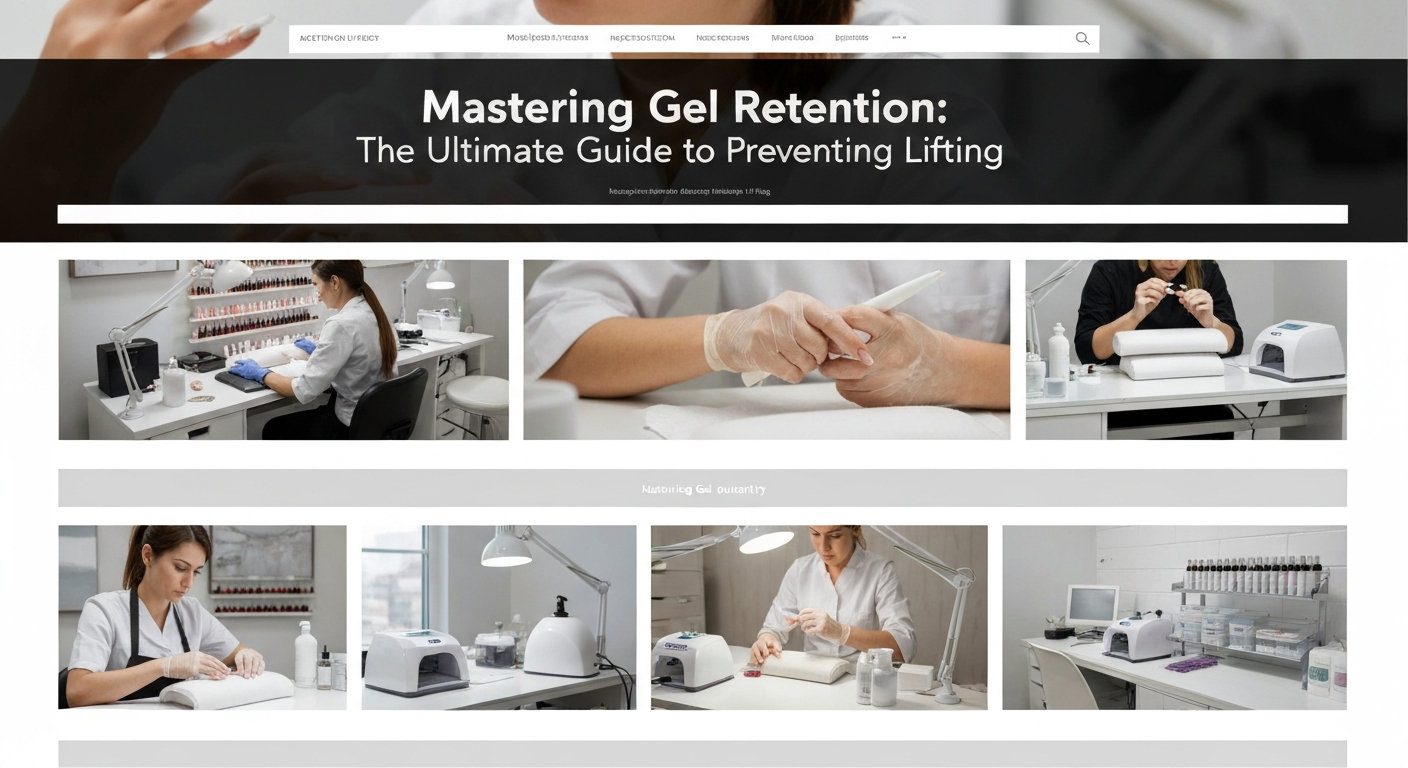
Mastering Gel Retention: The Ultimate Guide to Preventing Lifting
For any professional nail technician, client retention relies heavily on product retention. Nothing damages a nail salon’s reputation faster than a set of gels that lifts within a few days.
Lifting is not just an annoyance; it creates a trap for bacteria and water, leading to potential “greenies” (pseudomonas) and damaging the natural nail plate.
To guarantee 4+ weeks of wear, you must master the chemistry of adhesion and the mechanics of preparation. Here are the industry standards for preventing lifting.
The Foundation: Immaculate Nail Plate Preparation
90% of lifting issues originate from improper preparation. If the canvas is oily or obstructed by dead tissue, the product cannot bond to the keratin structure.
Removing True Cuticle and Pterygium
Many technicians confuse the eponychium (living skin) with the cuticle (dead skin). You must remove the non-living tissue attached to the nail plate, known as the cuticle or pterygium.
If you apply gel over this thin layer of dead skin, the product bonds to the skin, not the nail. As the skin sheds naturally, the product lifts away.
Best Practice: Use a cuticle pusher or an e-file with a fine diamond bit (flame or cylinder) to gently lift and exfoliate the cuticle from the nail plate, focusing on the proximal fold and sinuses.
Surface Etching and Texture
Gel products require a textured surface to mechanically interlock with the nail plate. A perfectly smooth, shiny nail offers no grip for the base coat.
However, over-filing damages the nail and thins the plate, which actually causes more lifting due to flexibility. You need to raise the keratin scales without removing layers.
Best Practice: Use a 180-grit buffer or a fine sanding band at low RPM. Gently remove the shine until the nail is matte. Always remove dust thoroughly with a stiff manicure brush and pure acetone or cleanser.
Chemical Bonding: Dehydrators and Primers
Once the physical prep is complete, you must alter the chemical state of the nail plate to ensure a magnetic-like bond with your gel system.
Balancing pH and Dehydration
The natural nail contains oils and moisture that act as barriers. A dehydrator (often called pH Bond or Prep) temporarily strips these surface oils.
This step creates a chalky, dry appearance on the nail plate. It is essential to apply your next step immediately, as the nail will rehydrate with natural oils within 20 minutes.
Selecting the Right Primer
Primers act as double-sided sticky tape. One side bonds to the keratin, and the other bonds to the gel polymer.
- Acid-Free Primer: The industry standard for most clients. It acts like a magnet for the base coat without causing chemical burns or irritation.
- Acid Primer: Used sparingly for clients with problematic nail plates or hyperhidrosis (excessively sweaty hands). Use with caution to avoid skin contact.
Precision Application Techniques
Even with perfect prep, poor application will cause lifting. If the product touches the skin, lifting is inevitable once the product cures.
Controlling the Cuticle Zone and Sidewalls
Flooding the cuticle or sidewalls is the number one application error. When cured gel touches skin, it creates a ridge. As the nail grows, this ridge catches on hair and clothes, pulling the product up.
Leave a tiny margin (about a hair’s width) between the product and the proximal nail fold. This ensures the seal remains intact as the nail grows out.
Pro Tip: Use a thin liner brush to guide the base coat and color near the edges for absolute precision before curing.
Capping the Free Edge
Shrinkage occurs when gel cures. If you do not cap (seal) the free edge, the gel pulls back, exposing the natural nail tip.
This exposure leads to separation at the distal edge, resulting in chipping and peeling. Ensure you cap the free edge with the base coat, color, and top coat.
Curing Standards and Equipment
Undercured product causes service breakdown and can lead to contact dermatitis allergies. Ensuring a full cure is vital for retention.
Check that your LED or UV lamp is compatible with your specific gel brand. Not all lamps cure all photo-initiators efficiently. Verify the nanometer wavelength requirements of your system.
Instruct clients on proper hand placement. Thumbs should often be cured separately or flat to ensure the light hits the sidewalls effectively.
By strictly following these protocols in your salon, you will minimize service breakdowns, increase client satisfaction, and establish yourself as a nail expert.
