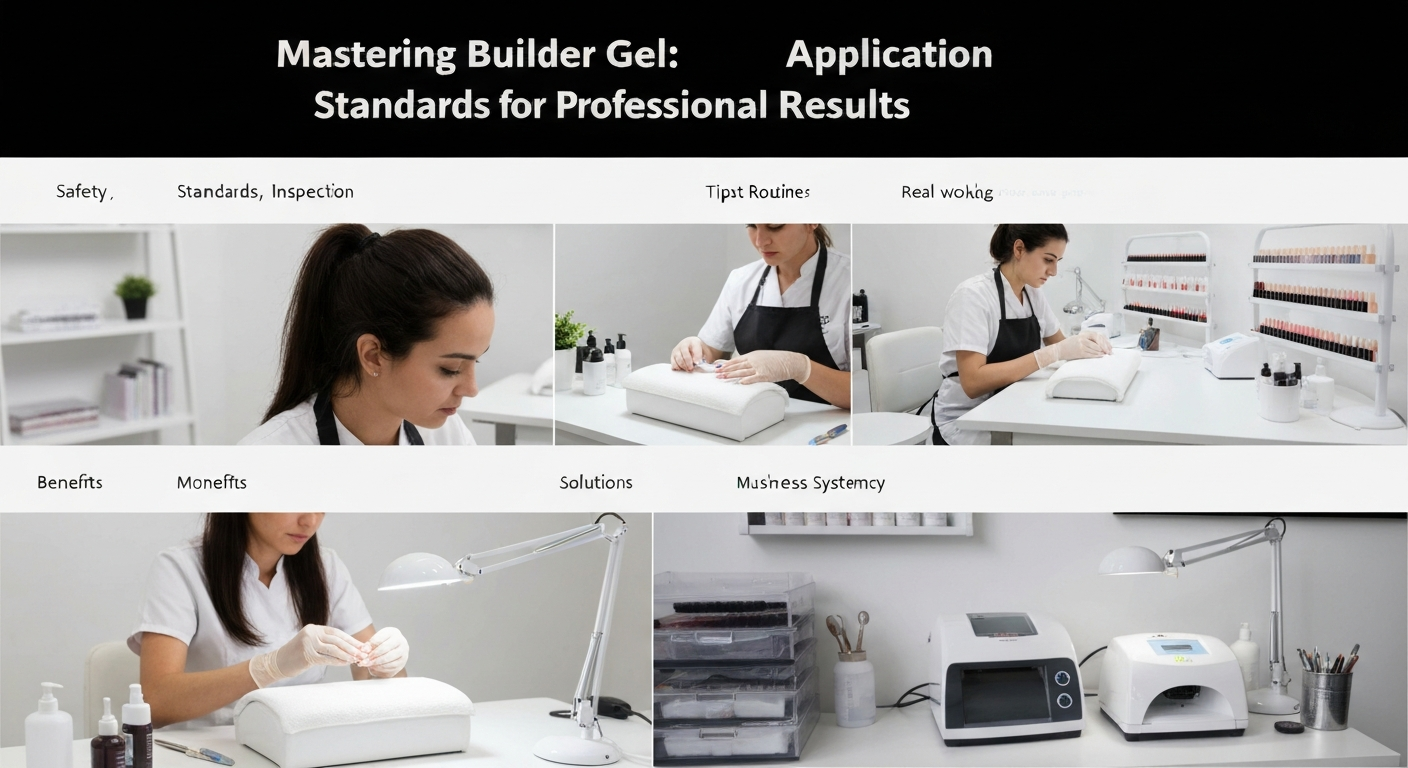
Mastering Builder Gel: Application Standards for Professional Results
Builder gel has revolutionized the nail industry, bridging the gap between standard gel polish and hard gel extensions. For professional nail technicians, mastering this medium is essential for increasing service revenue and client retention.
This guide outlines the industry standards for applying builder gel (often referred to as BIAB or soft hard gel) on natural nails. We focus on structural integrity, chemical safety, and precise application workflows.
The Chemistry of Builder Gel and Adhesion
Builder gels are viscous, soak-off gels designed to add strength and structure. Unlike standard gel polish, they contain a higher concentration of oligomers that create a rigid, shock-absorbing structure upon polymerization.
Understanding adhesion is critical. Builder gel requires a mechanical bond with the natural nail plate. This bond is achieved through proper preparation of the keratin layers, allowing the gel product to anchor securely.
Technicians must differentiate between base coats and builder gels. While some builder gels contain primers, utilizing a separate system-compatible base coat often enhances adhesion and protects the natural nail from potential staining or heat transfer.
Step 1: Precision Nail Preparation
The longevity of a builder gel service relies entirely on preparation. Any remaining cuticle tissue or oil on the nail plate will cause immediate lifting and potential bacterial infections (greenies).
Dry Manicure Protocol
Do not soak the hands before application. Water expands the nail plate; as the nail dries and shrinks post-service, the gel will detach. Perform a dry manicure using professional e-file bits or high-quality manual pushers.
Surface Texture
Gently remove the shine from the natural nail using a 180-grit or 240-grit buffer. You are not thinning the nail; you are merely raising the keratin scales to create surface area for the product to grip.
Dehydration and Cleansing
Scrub the nail plate vigorously with pure acetone or a specialized dehydrator and 99% Isopropyl Alcohol (IPA) mixture. Ensure you clean the lateral folds and the hyponychium area to remove all dust and oils.
Step 2: The Base Layer Application
Before building structure, you must establish a contact layer. This layer prevents product separation and creates a smooth foundation for the self-leveling gel.
Apply a very thin “scrub layer” of your base gel or builder gel. Use your brush to massage the product into the nail plate. This action forces the gel into the micro-grooves created during preparation.
Cure this layer strictly according to the manufacturer’s instructions. Under-curing the base layer is a primary cause of service breakdown and potential chemical overexposure for the client.
Step 3: Building Structure and the Apex
The defining characteristic of a professional builder gel manicure is the apex. The apex provides strength to the stress area, preventing breaks at the sidewalls.
The Slip Layer
Apply a thin coat of builder gel over the entire nail but do not cure it. This wet layer acts as a guide, allowing the subsequent bead of gel to flow smoothly to the edges without flooding the cuticles.
Placement and Floating
Pick up a medium-sized bead of builder gel. Place it near the cuticle area (leaving a 1mm margin) and gently float the product down the center of the nail toward the free edge.
Do not press hard with your brush. You are guiding the liquid, not painting it. Let the product self-level. Gravity is your best tool during this phase.
Gravity Assistance
Turn the client’s hand over (palm up) for 5 to 10 seconds. This technique allows gravity to pull the gel into the center of the nail, naturally creating a perfect curve and apex.
Flip the hand back and inspect the “line of light.” If the reflection of your table lamp is straight and unbroken on the nail surface, the structure is correct. If the light is distorted, the surface is uneven.
Step 4: Managing the Heat Spike
Builder gels undergo an exothermic reaction during curing. The rapid movement of molecules generates heat, which can be painful for clients with thin or sensitive nail plates.
Always use a professional LED/UV lamp with a “Low Heat Mode” (often 99 seconds). This mode pulses the light, gradually increasing intensity to control the polymerization rate and reduce heat spikes.
If a client experiences heat, instruct them to remove their hand immediately. Pressing the finger pads against the table can help dissipate the sensation. Never force a client to endure pain inside the lamp.
Step 5: Refining and Finishing
Once the structure is cured, wipe the inhibition layer (sticky residue) with IPA. Even self-leveling gels often require minor refinement to ensure a crisp, professional shape.
Refining the Shape: Use a 180-grit file to perfect the free edge and sidewalls. Keep the file perpendicular to the nail to maintain sharp, clean lines. Gently buff the surface near the cuticle to ensure a seamless grow-out.
Top Coat Application: Remove all dust carefully. Apply a high-shine, non-wipe top coat. Ensure you cap the free edge to seal the layers and prevent chipping.
Hygiene and Safety Standards
Adhering to safety standards distinguishes a professional nail technician from an amateur. Always work in a well-ventilated area to minimize inhalation of dust and chemical vapors.
- Change table towels and sanitizing wipes between every client.
- Sterilize all metal tools in an autoclave or hospital-grade disinfectant.
- Use single-use files and buffers, or disinfect reusable cores properly.
- Wear nitrile gloves to protect your skin from repeated chemical exposure.
Troubleshooting Common Issues
Lifting at the Cuticle: Usually caused by improper prep or flooding. Ensure you leave a tiny margin of clear nail around the cuticle and sidewalls.
Lifting at the Free Edge: Often caused by the client using their nails as tools or failing to cap the free edge. It can also result from over-filing the natural nail tip, making it too flexible to support the rigid gel.
Bulky Nails: Too much product applied at the sidewalls. Keep the product thin at the sides and cuticles, concentrating the bulk only at the apex and center of the nail.
Mastering builder gel requires practice and a deep understanding of nail anatomy. By following these industry protocols, you ensure your clients receive safe, durable, and aesthetically pleasing nail enhancements.
