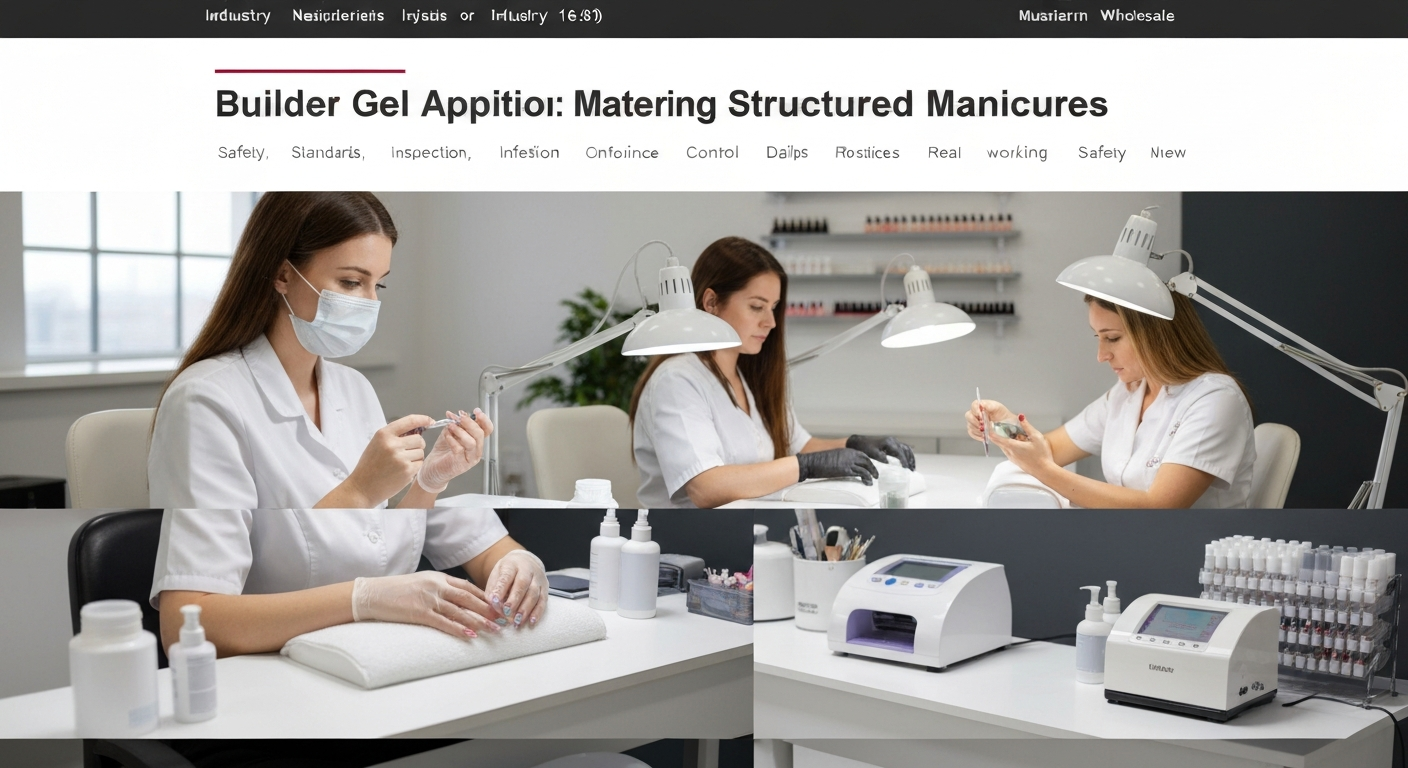
Builder Gel Application: Mastering Structured Manicures
The structured gel manicure has become one of the most requested services in modern nail salons. Unlike traditional gel polish, builder gel adds strength and architecture to the natural nail.
Mastering this technique allows nail technicians to charge premium prices and ensure client retention. This guide covers the essential workflow for flawless application.
Understanding Viscosity and Adhesion
Before application, it is crucial to understand the chemistry of your chosen system. Builder gels range from low viscosity (runny) to high viscosity (thick/non-runny).
For beginners or warm salon environments, a medium-to-high viscosity gel is often easier to control. This prevents the product from flooding the lateral folds before curing.
Key Adhesion Factors:
- Bonding Agents: Ensure your base coat is compatible with your builder gel system.
- Lamp Calibration: Use a curing lamp with the correct nanometer wavelength for your specific gel brand to prevent service breakdown or allergies.
Step 1: Precision Nail Preparation
90% of service breakdown comes from improper preparation. In the nail industry, “prep” is not just cleaning; it is creating the foundation for adhesion.
Cuticle and Pterygium Removal
Thoroughly remove non-living tissue from the nail plate using a pusher or e-file bits. Any remaining cuticle on the nail plate will cause immediate lifting.
Use a diamond bit (cylinder or flame) at a low RPM to gently exfoliate the cuticle area without damaging the eponychium.
Surface Etching and Dehydration
Gently remove the shine from the natural nail using a 180 or 240-grit buffer or sanding band. The goal is to create texture, not to thin the nail plate.
Cleanse the nail plate with 99% Isopropyl Alcohol or a pure cleanser. Avoid products with moisturizing additives that leave an oily residue.
Step 2: The Slip Layer Technique
The “slip layer” or “wet floor” method is the industry standard for applying builder gel evenly. This creates a guide for the product to flow without touching the skin.
Apply a very thin, uncured layer of builder gel over the entire nail plate. Do not cure this layer yet. It acts as a pathway for your building bead.
Keep a 1mm margin away from the cuticle and sidewalls to prevent flooding. This safety margin is critical for preventing contact dermatitis and lifting.
Step 3: Building the Apex
The apex provides the structural integrity of the enhancement. It should be located at the stress area of the nail to absorb shock and prevent breakage.
Application Steps:
- Pick up a medium-sized bead of builder gel on your brush.
- Place the bead near the cuticle area (but not touching it) on top of the wet slip layer.
- Gently guide the product down the center of the nail using a “floating” motion. Do not press hard.
- Let gravity help you. Turn the client’s hand upside down for a few seconds to allow the gel to self-level toward the center.
Check the “Line of Light” reflection on the nail. If the reflection is straight and oval, the structure is smooth. If it is jagged, the surface is uneven.
Step 4: Curing and Heat Spike Management
Builder gels undergo an exothermic reaction when curing, which can cause heat spikes. This is painful for clients and can damage the nail bed.
Utilize the “Low Heat Mode” on your LED/UV lamp if available. Alternatively, have the client flash cure (in and out) for the first 10 seconds.
Ensure a full cure according to the manufacturer’s instructions (usually 60 seconds LED). Undercured gel is a leading cause of chemical sensitivities.
Step 5: Refining the Shape
Once cured, remove the inhibition layer (sticky residue) with a lint-free wipe and alcohol. Even self-leveling gels often require minor refinement filing.
Use a 180-grit file to perfect the free edge and sidewalls. If you need to debulk the surface, use a gentle buffer to smooth out any high spots.
Clean the dust thoroughly before applying gel color or a top coat. Dust particles can cause pitting in your final finish.
Best Practices for Salon Safety
Always work with clean tools and maintain a sanitary station. If builder gel touches the skin, remove it immediately with a cleanup brush dipped in alcohol before curing.
Educate your clients on the difference between builder gel and standard gel polish. Explain that this service offers superior durability and structure for natural nail growth.
By mastering these techniques, you elevate the standard of service in your salon and establish yourself as a knowledgeable nail professional.
