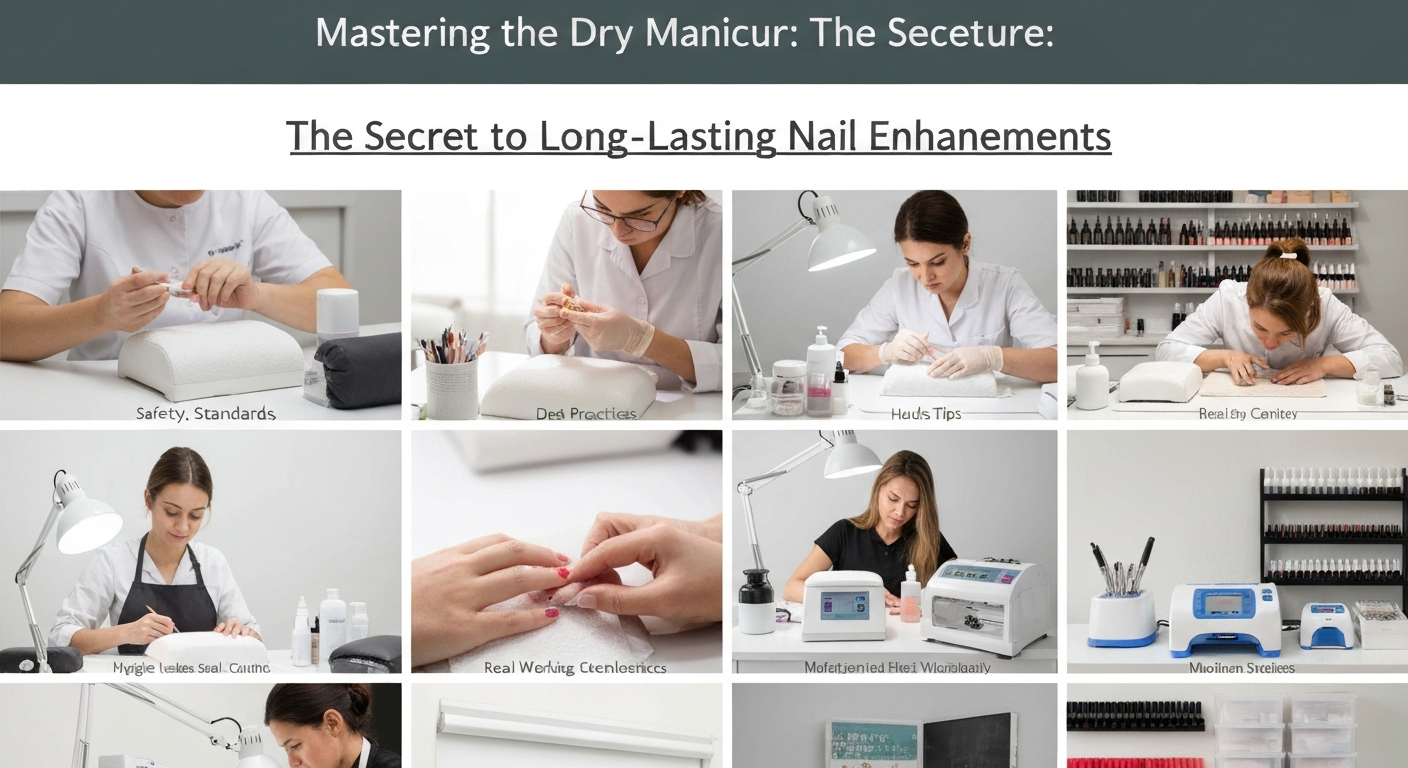
Mastering the Dry Manicure: The Secret to Long-Lasting Nail Enhancements
For professional nail technicians, service longevity is the ultimate measure of success. Premature lifting is the number one client complaint in the nail industry.
The solution often lies in the preparation stage. Traditional wet manicures saturate the nail plate, causing it to expand and flatten.
When the nail dries and contracts after product application, the bond breaks, leading to service breakdown. The dry manicure is the industry standard for ensuring maximum adhesion.
Understanding the Nail Plate and Pterygium
The primary goal of a dry manicure is the complete removal of non-living tissue from the nail plate. This tissue is specifically the cuticle, which is often confused with the eponychium.
The cuticle is the dead, sticky layer of skin (pterygium) that adheres to the nail plate. If product is applied over this tissue, it will lift as the skin sheds naturally.
Key Anatomical Targets:
- Eponychium: The living skin at the base of the nail. Do not cut this unless necessary for hangnails.
- True Cuticle: The dead tissue on the nail plate that must be exfoliated.
- Lateral Folds: The sidewalls that require cleaning to ensure a crisp product application line.
Essential Tools for Dry Prep
Executing a safe dry manicure requires specific professional-grade tools. Quality implements ensure precision and client safety during the service.
Using the correct grit and bit shape is crucial to avoid “rings of fire” or damage to the matrix.
- Diamond E-File Bits: Flame or cylinder bits (fine grit) are best for lifting and exfoliating the cuticle.
- Stainless Steel Pusher: A sharp, curved pusher helps separate the tissue from the plate before filing.
- Sanding Band or Buffer: Use a 180 or 240-grit texture to remove shine without thinning the nail.
- Cleansing Solution: A mix of pure acetone and isopropyl alcohol to dehydrate and cleanse.
Step-by-Step Dry Manicure Protocol
1. Evaluate and Reshape
Begin by sanitizing your hands and the client’s hands. assess the health of the nails. If there are signs of greenies (pseudomonas) or infection, refuse service.
Shape the free edge first using a hand file. Doing this dry prevents fraying that occurs when nails are water-logged.
2. Initial Push Back
Gently push back the eponychium to expose the new growth area. This creates a clear pocket for your e-file bit.
Ensure the pusher is held at a 45-degree angle to avoid scratching the nail surface deeply or slipping into the matrix.
3. E-File Exfoliation
Set your e-file to a low speed (between 5,000 and 8,000 RPM) and forward rotation (FWD) for right-handed techs.
Use a fine diamond flame bit. gently glide the bit along the cuticle line and lateral folds. Let the bit do the work; do not apply pressure.
Keep the bit parallel to the nail plate to avoid digging in. This step lifts the dead tissue and exfoliates the sidewalls.
4. Nipping and Refining
Once the dead tissue is lifted and clearly visible (standing up white), use sharp cuticle nippers to trim only the loose tag.
Standard Rule: If it’s not loose, don’t cut it. Over-nipping triggers the skin’s defense mechanism, causing it to grow back harder and thicker.
5. Surface Etching
Product adheres mechanically to the texture of the nail. Use a fine sanding band or buffer to gently remove the surface shine.
Focus on the cuticle area and sidewalls where lifting starts. The goal is to make the nail look chalky, not to remove layers of keratin.
Final Dehydration and Bonding
After mechanical preparation, chemical preparation is the final step before base coat application.
Thoroughly scrub the nail plate with a lint-free wipe soaked in cleanser. This removes dust, oils, and contaminants.
Apply your system’s dehydrator, followed immediately by a primer (acid-free for gel, acid-based for problematic acrylic clients).
Safety Considerations for Nail Techs
When performing dry manicures, especially with an e-file, training is mandatory. Incorrect angles can cause permanent damage to the nail matrix.
Always sanitize bits between every client using an ultrasonic cleaner and hospital-grade disinfectant to prevent cross-contamination.
By mastering the dry manicure, you provide a cleaner canvas for gel, acrylic, or builder gel, ensuring your clients enjoy weeks of flawless wear.
