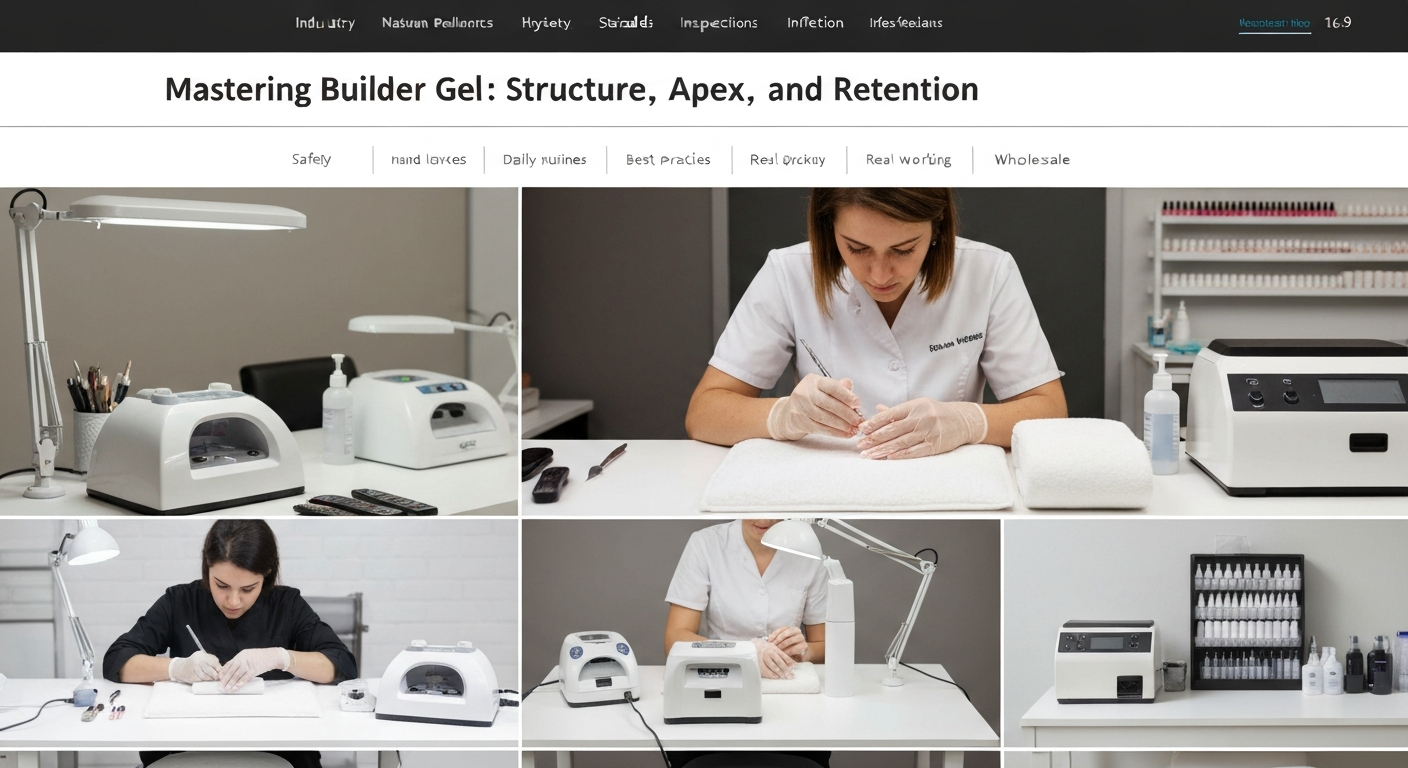
Mastering Builder Gel: Structure, Apex, and Retention
Builder gel in a bottle (BIAB) and hard gel systems have revolutionized the nail industry. These products allow nail technicians to create durable, structured overlays that support natural nail growth.
However, improper application often leads to service breakdown, lifting, and safety issues. Mastering the viscosity and self-leveling properties of your chosen system is essential.
This guide covers the technical standards for applying builder gel to ensure structural integrity and maximum client retention.
The Importance of Structural Integrity
Applying builder gel is not the same as applying gel polish. You are not just adding color; you are building an architecture to absorb shock and stress.
The product must be thicker than a standard gel polish base coat to provide strength, but it cannot be bulky near the cuticle or sidewalls.
Correct structure prevents the “heavy” look while protecting the stress area where the natural nail is most likely to break.
Critical Nail Preparation Steps
Retention begins before the bottle is even opened. For builder gel services, “dry prep” or an electric file manicure is the industry standard to ensure no moisture is trapped.
Cuticle and Eponychium Management
You must remove all non-living tissue from the nail plate. Any remaining cuticle on the plate will act as a barrier, causing the gel to lift immediately.
Use a fine-grit diamond bit or a sharp pusher to clear the pterygium. Ensure the lateral folds are clear of debris.
Cleanse the nail plate thoroughly with 90% Isopropyl Alcohol or a pure cleanser to remove dust and oils.
Surface Texture and Dehydration
Builder gel requires a textured surface for mechanical adhesion. Lightly buff the nail plate with a 180 or 240-grit buffer or sanding band.
Apply a dehydrator to remove surface moisture. Follow with a non-acid primer if your specific gel system requires it.
Pro Tip: Do not touch the nail plate after dehydration. Oils from your fingers will compromise the bond.
The Slip Layer Technique
The “slip layer” or “wet floor” technique is the most efficient way to guide builder gel. It helps the product self-level without flooding the skin.
Apply a thin, uncured layer of builder gel over the entire nail plate, leaving a tiny margin around the cuticle area and sidewalls.
Do not cure this layer. It acts as a pathway for the larger bead of gel to flow smoothly.
Building the Apex
The apex is the highest point of the structured nail. It provides strength to the stress area. Without a proper apex, long nails will snap under pressure.
Bead Placement
Pick up a medium-sized bead of builder gel. Place it near the cuticle area (but not touching the skin) on top of your wet slip layer.
Gently nudge the product toward the cuticle line, then guide it down the center of the nail toward the free edge.
Allow gravity to help. Flip the client’s hand over (palm up) for a few seconds. This pulls the gel into a perfect convex curve, centering the apex naturally.
Refining the Structure
Flip the hand back and inspect the light reflection (line of light). The reflection should be straight and unbroken.
If the reflection is wavy, the surface is uneven. Use a liner brush to manipulate the gel where needed before curing.
Check the sidewalls to ensure the product hasn’t pooled. Clean up any uncured product from the skin immediately to prevent contact dermatitis.
Curing Protocols and Safety
Builder gels are thicker than gel polish, meaning they contain more photo-initiators and require precise curing to prevent heat spikes and allergies.
Managing Heat Spikes
The polymerization reaction generates heat (exothermic reaction). This can be painful for clients with thin or sensitive nail plates.
Use a professional LED/UV lamp with a “Low Heat Mode” (gradual power increase) to mitigate this sensation.
Instruct the client to remove their hand immediately if they feel heat, wait for it to subside, and then re-enter the lamp.
Preventing Under-Curing
Under-cured gel is the leading cause of HEMA allergies. Because builder gel is pigmented and thick, the light has a harder time penetrating to the bottom layer.
Ensure your lamp is compatible with your gel brand (correct nanometer wavelength). Always cure for the full recommended time, usually 60 seconds for LED.
Check the thumbs separately. Clients often tilt their thumbs, leading to uncured sides. Cure thumbs flat and separately to ensure safety.
Finishing the Service
Once the structure is cured, wipe the inhibition layer (sticky layer) with alcohol if you plan to file.
Even with self-leveling gel, you may need to “finish file” to perfect the shape and crisp up the free edge.
Use a 180-grit file to refine the perimeter. Buff the surface smooth, wipe away dust, and apply your top coat for a high-gloss, durable finish.
Summary of Best Practices
- Prep is King: 90% of lifting is due to poor cuticle work or oil on the plate.
- Respect the Chemistry: Do not mix incompatible systems or lamps.
- Protect the Skin: Never leave uncured product on the skin. It causes permanent allergies.
- Educate Clients: Advise clients to use cuticle oil daily to keep the product flexible and the surrounding skin healthy.
