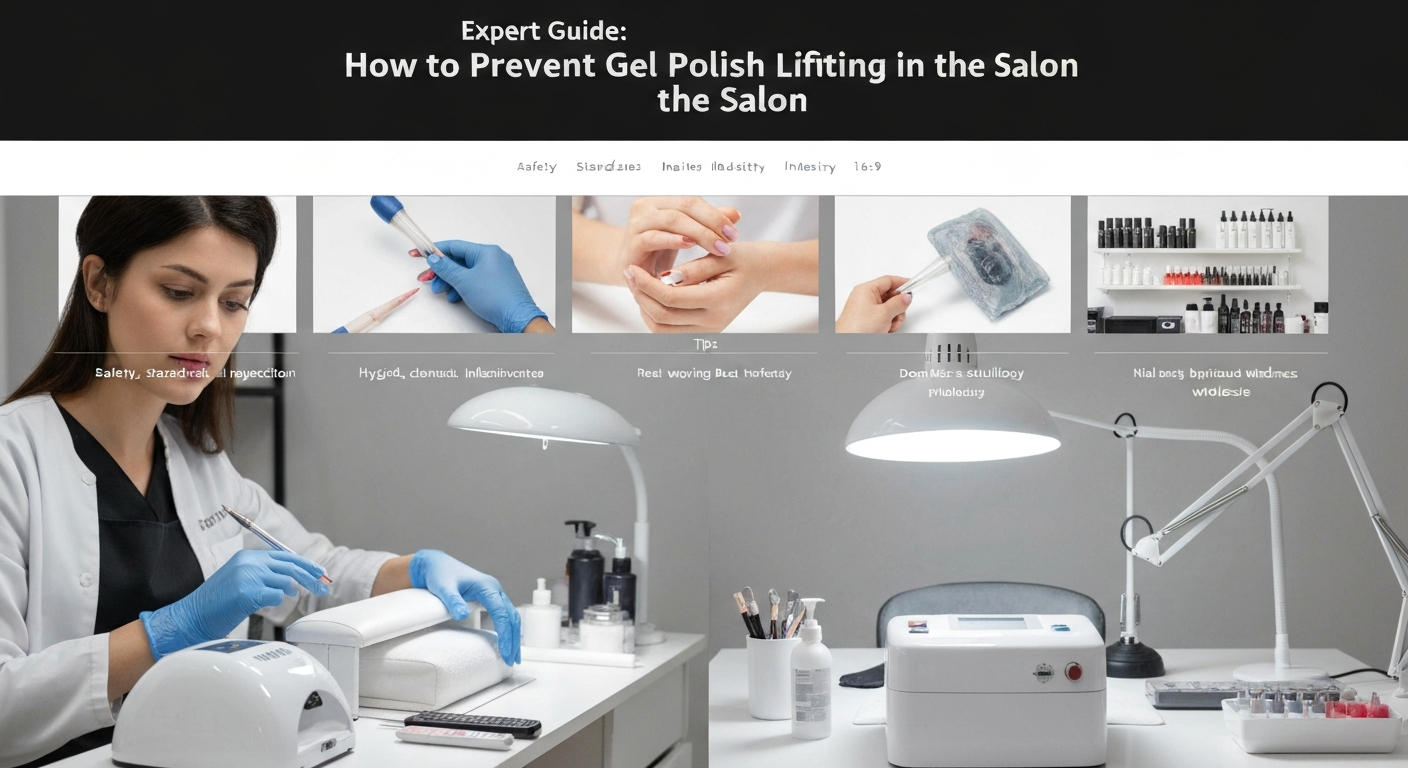
Expert Guide: How to Prevent Gel Polish Lifting in the Salon
Service breakdown is the most common frustration for nail technicians and clients alike. When gel polish lifts, peels, or chips prematurely, it damages your reputation and costs your salon money in free repairs.
Achieving four weeks of retention requires more than just high-quality products. It demands a scientific understanding of adhesion and meticulous application standards.
Follow these professional protocols to eliminate lifting and ensure your gel manicures withstand the wear and tear of daily life.
1. Master the Dry Preparation Process
Water is the enemy of long-lasting gel services. The nail plate is porous and absorbs moisture like a sponge, expanding the shape of the nail.
If you perform a “wet manicure” with soaking bowls before applying gel, the nail plate will eventually shrink back to its original size as it dries. This movement causes the gel to detach from the natural nail.
Best Practice: Switch to a completely dry manicure method. Use waterless cleansers or specific cuticle removers that do not saturate the nail plate deep within the layers.
2. Complete Removal of Pterygium
Many technicians confuse the eponychium (living skin) with the cuticle (dead skin on the nail plate). The true cause of lifting near the cuticle area is often remaining pterygium.
This thin, transparent layer of dead skin stays attached to the nail plate as it grows out. If you apply product over this skin, the product will not bond to the keratin of the nail.
The Solution: Use a sharp cuticle pusher or an e-file with a fine diamond bit. Gently exfoliate the nail plate near the proximal fold to ensure you are applying gel to the nail, not the skin.
3. Mechanical Etching and Surface Texture
Gel products need a textured surface to grip onto. A nail plate that is too smooth, or one that has been buffed to a shine, offers no mechanical adhesion points.
However, over-filing damages the nail plate and thins the foundation, which leads to flexibility and eventual cracking.
The Correct Grit
Use a 180-grit sponge buffer or a 240-grit hand file to gently remove the surface shine. You are not trying to thin the nail; you are simply raising the keratin scales.
Dust Removal
After etching, dust becomes a barrier. Use a stiff manicure brush to remove dust from the lateral folds and sinuses. Cleanse thoroughly with 99% Isopropyl Alcohol or a pure acetone mixture to dehydrate and degrease.
4. The “Scrubbing” Base Coat Method
How you apply your base coat is just as important as the product you choose. Simply floating the base coat onto the nail often leaves microscopic air pockets.
For maximum adhesion, you must force the product into the texture you created during prep.
- Step 1: Dip your brush and wipe off most of the product.
- Step 2: Use a scrubbing motion to work the gel into the natural nail plate.
- Step 3: Ensure the layer is extremely thin to prevent heat spikes and under-curing.
- Step 4: Cure for the full recommended time according to the manufacturer.
5. Curing Lamp Compatibility
Undercured gel is a leading cause of lifting and creates a high risk for contact dermatitis allergies. Not all LED or UV lamps are built the same.
A lamp that does not match the photo-initiators in your specific gel brand will not cure the product all the way through to the base layer.
Check Your Nanometers
Ensure your lamp emits the correct wavelength (usually 365nm to 405nm) required by your gel system. If the light does not penetrate fully, the bottom layer remains soft and will lift within days.
Hand Placement
Educate clients on proper hand placement. The thumbs must be flat and centered under the diodes. Consider curing thumbs separately to guarantee a complete cure and prevent product running into the sidewalls.
