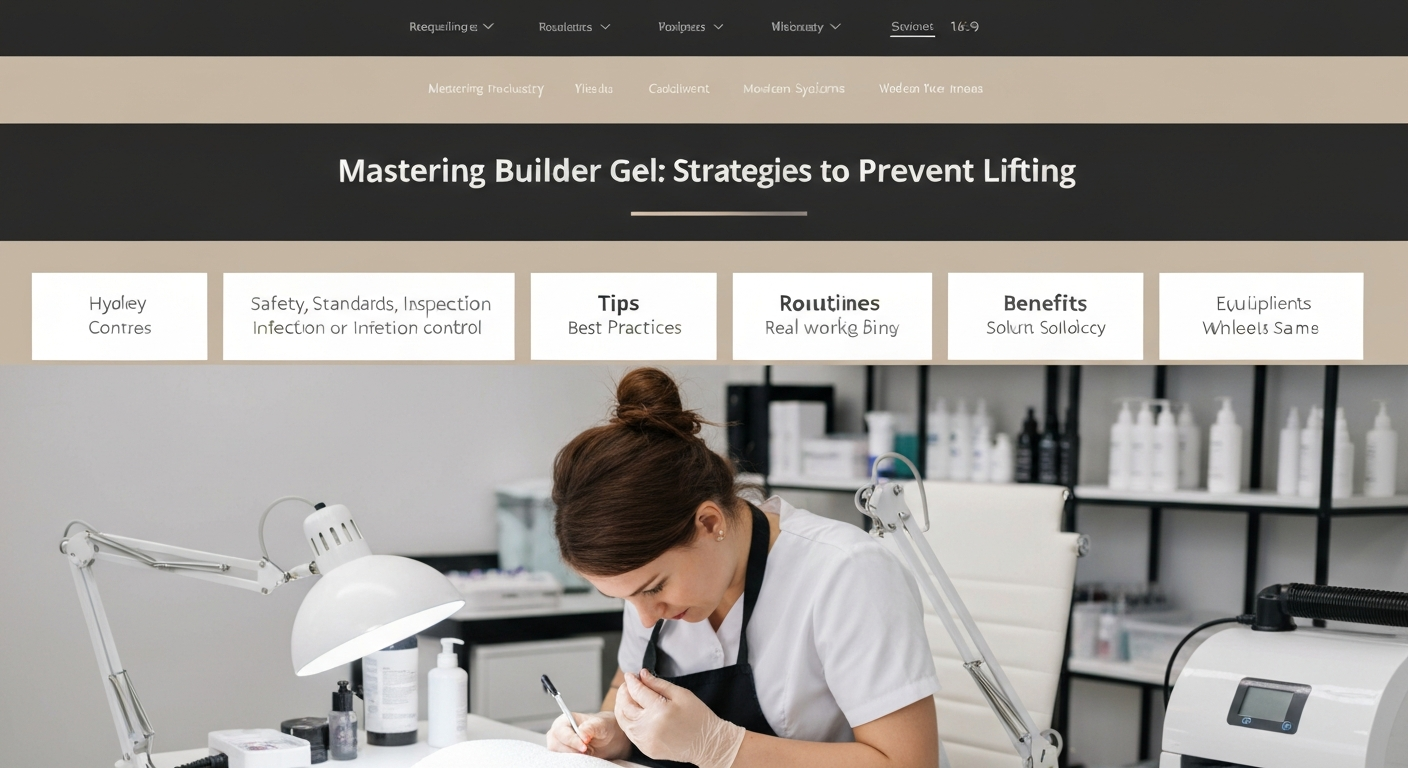
Mastering Builder Gel: Strategies to Prevent Lifting
For professional nail technicians, service breakdown is a major frustration. Lifting not only compromises the durability of the manicure but can also lead to bacterial infections if moisture gets trapped.
Mastering the application of builder gel requires precise preparation and an understanding of nail structure. Eliminating lifting starts long before the gel touches the nail.
Follow these industry-standard protocols to ensure your builder gel services last 3 to 4 weeks without compromise.
The Foundation: Precision Nail Plate Preparation
90% of lifting issues stem from improper preparation of the natural nail. The goal is to remove all contaminants without damaging the nail plate layers.
You must differentiate between the eponychium (living skin) and the true cuticle (dead tissue on the plate). Gel will not adhere to skin or dead tissue.
Mechanical Preparation Steps
- Push Back: Gently push back the eponychium to expose the cuticle growth on the nail plate.
- Exfoliate: Use a fine grit diamond bit or a sharp manual tool to remove the invisible cuticle layer.
- Etch: Lightly buff the shine off the natural nail using a 180 or 240-grit file or sanding band.
- Dust Removal: Thoroughly remove dust using a stiff manicure brush and isopropyl alcohol.
Chemical Preparation and Adhesion
Once the physical prep is complete, chemical preparation ensures a bond between the keratin of the nail and the synthetic gel product.
Skipping dehydration or priming is a common cause of premature lifting, especially in clients with hyperhidrosis or oily nail plates.
Applying Dehydrators and Primers
- Cleansing: Scrub the nail with pure acetone or a dedicated nail cleanser to remove oils.
- Dehydrator: Apply a pH-balancing dehydrator and wait for the nail plate to turn chalky white.
- Primer: Apply an acid-free primer sparingly. Too much primer can actually act as a lubricant and cause lifting.
- Base Coat: Scrub a thin layer of base gel into the nail plate and cure fully before building structure.
Application Control: The Cuticle Zone
Flooding the cuticle or sidewalls is the fastest way to cause lifting. Once cured gel touches the skin, it will lift as the skin moves and oils regenerate.
Control your product bead size and leave a tiny margin of free space around the perimeter of the nail.
Techniques for Clean Application
Use a “slip layer” of uncured builder gel to guide your larger bead. This helps the product self-level without running into the sidewalls.
Use a fine liner brush to refine the product near the cuticle area. This allows for precision that the bottle brush cannot provide.
Always inspect the reflection of your light line. A distorted reflection often indicates product pooling in the sidewalls which will lead to lifting.
Capping the Free Edge
Free edge lifting occurs when the natural nail pulls away from the product. This is common if the natural nail curls away from the hard gel.
Ensure you cap the free edge during the base layer application and the final top coat application.
For clients with flexible natural nails, consider filing the natural nail away from underneath after the extension is built to prevent separation.
Proper Curing Protocols
Under-cured product is unstable and will eventually lift or cause allergies. Ensure your LED or UV lamp is compatible with your specific gel brand.
Check your lamp bulbs regularly and ensure the client’s hand placement is correct. Thumbs should be cured separately to ensure the light hits the sides effectively.
