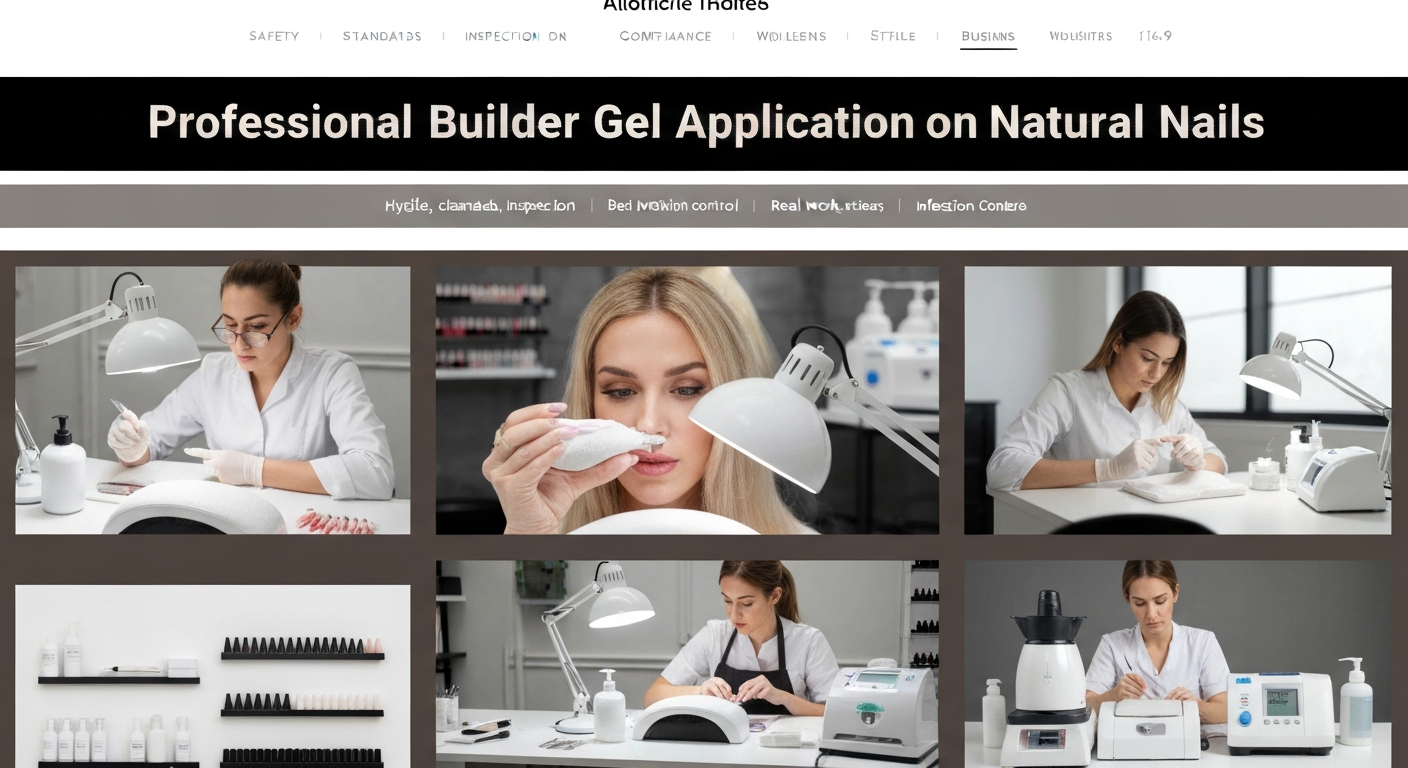
Professional Builder Gel Application on Natural Nails
Builder gel has become a staple service in modern nail salons. It offers clients the strength of acrylics with the flexibility of gel.
For nail technicians, mastering this technique is essential for increasing ticket value and client retention.
This guide covers the industry standards for applying builder gel to natural nails for maximum longevity.
Understanding Builder Gel Viscosity and Structure
Before application, it is crucial to understand the product you are working with. Builder gels come in varying viscosities.
Soft gels (often bottled) are flexible and soak-off, ideal for natural nail overlays.
Hard gels (usually potted) are non-porous and must be filed off, better for long extensions.
Selecting the right viscosity depends on the client’s natural nail plate health and desired length.
Step 1: Precision Nail Preparation
Lifting is the number one complaint in gel services. 90% of lifting issues stem from improper preparation.
Sanitization: Begin by sanitizing your hands and the client’s hands. Push back the eponychium gently.
Cuticle Work: Use a flame bit or cuticle nippers to remove non-living tissue from the nail plate. Any remaining tissue will cause the gel to lift.
Surface Etching: Gently remove the shine using a 180-grit buffer or a sanding band at low RPM. You want texture, not damage.
Cleansing: Scrub the nail plate with pure acetone or a dedicated cleanser and a lint-free wipe. Remove all dust and oils.
Step 2: Chemical Bonding
Once the nail is dehydrated, chemical adhesion is necessary for long-term wear.
Apply a pH bond or dehydrator to all ten nails. Watch for the nail to turn chalky white, indicating dryness.
Apply a non-acid primer sparingly. Do not flood the cuticle area. This acts as double-sided tape for the gel.
Step 3: The Slip Layer Technique
The slip layer is the secret to a smooth, self-leveling application. Do not cure this layer immediately.
Apply a very thin coat of builder gel over the entire nail plate.
Ensure you leave a tiny margin around the cuticle and sidewalls to prevent product flooding.
This uncured wet layer allows the subsequent bead of gel to flow effortlessly into place.
Step 4: Building the Apex
The apex provides the structural integrity required to prevent breaks at the stress area.
Placement: Pick up a medium-sized bead of builder gel. Place it near the cuticle area, but not touching the skin.
Floating: Gently float the bead down the center of the nail toward the free edge using the tip of your brush.
Gravity Assistance: Flip the client’s hand over. Let gravity pull the gel to the center to form a perfect natural curve.
Check the reflection of your light line. If the line is straight, the structure is smooth.
Step 5: Curing and Safety
Heat spikes (exothermic reactions) are common with thicker builder gels. Manage this to ensure client comfort.
Use the “low heat mode” on your LED/UV lamp if available.
Flash cure for 10 seconds if the gel is moving too much, then do a full cure according to the manufacturer’s instructions (usually 60 seconds).
Ensure the hand is placed correctly in the lamp so the light hits the thumbs and sidewalls.
Step 6: Refining and Finishing
After curing, remove the inhibition layer (sticky residue) with alcohol.
Shape Refinement: Use a 180-grit hand file to perfect the free edge and sidewalls. Keep the file straight to crisp up the shape.
Surface Smoothing: If necessary, buff the surface to correct any minor imperfections in the arch.
Clean the nail thoroughly to remove dust before applying gel polish color or a top coat.
Troubleshooting Common Issues
Even experienced nail technicians face challenges. Here are solutions for common builder gel problems:
Lifting at the Cuticle
This is usually caused by product touching the skin or insufficient prep. Ensure a 1mm gap between product and skin.
Product Cracking
Cracks often indicate the product is too thin at the stress point. Ensure your apex is built correctly for the length of the nail.
Bubbles in the Gel
Do not pump your brush in the bottle. When applying, keep the brush contact continuous with the gel rather than lifting it up and down.
Service Hygiene Reminder
Always disinfect your e-file bits and metal tools between every client using hospital-grade disinfectant to maintain salon safety standards.
