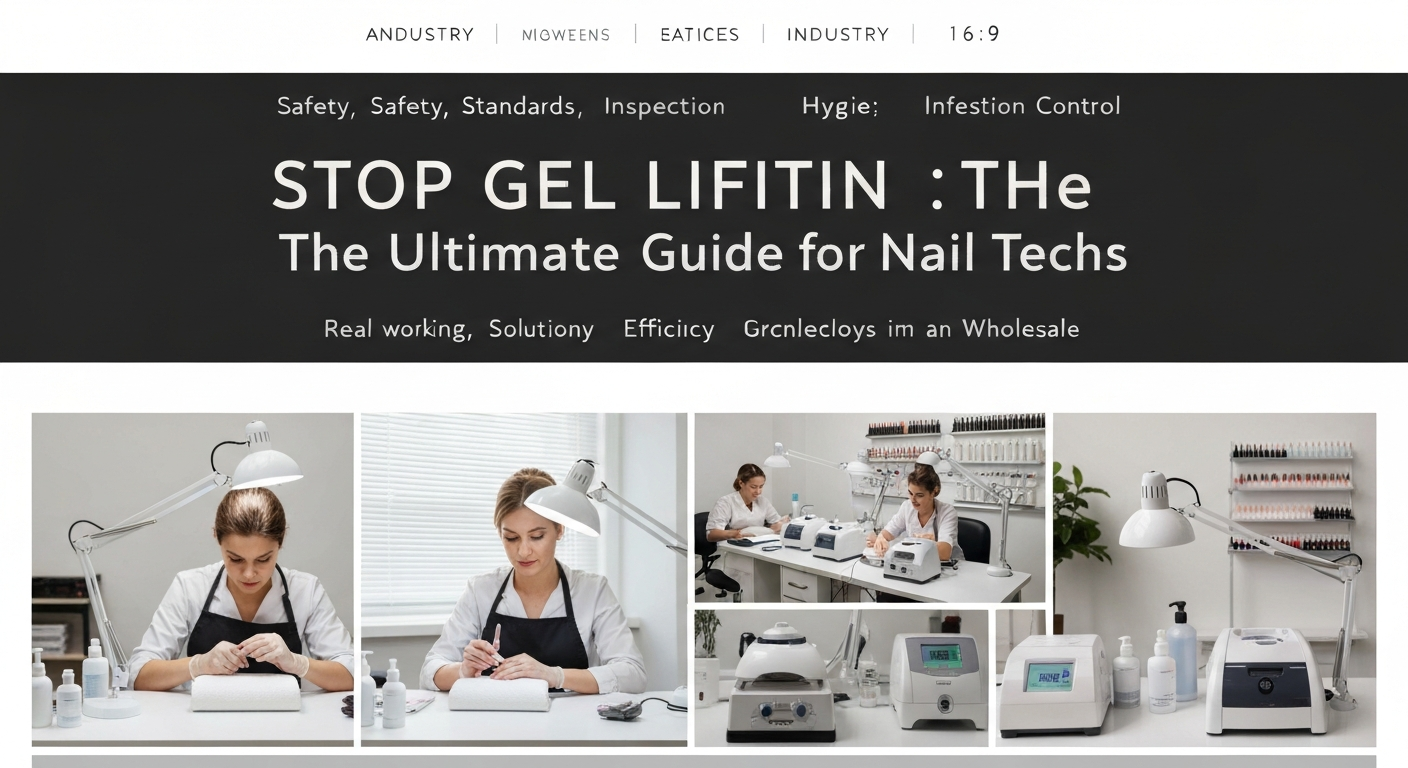
Stop Gel Lifting: The Ultimate Guide for Nail Techs
Service breakdown is the nightmare of every nail technician. When a client returns after three days with lifting gel polish, it costs you time, money, and your professional reputation.
Lifting is rarely a “bad product” issue. In 90% of cases, it stems from improper preparation or application errors.
This guide covers the technical protocols required to ensure flawless adhesion and long-lasting gel manicures in a professional salon setting.
1. The Foundation: Meticulous Dry Prep
Adhesion begins with the natural nail plate. If the canvas is not properly prepared, even the most expensive gel system will fail.
Water expands the nail plate. Performing a “wet” manicure (soaking bowls) before gel application causes the nail to shrink as it dries later, forcing the gel to separate.
Switch to dry manicures for all gel services. Use a sanitizer spray to clean the hands, but avoid soaking the nail plate.
2. Complete Cuticle and Pterygium Removal
Pushing back the eponychium is not enough. The true enemy of adhesion is the pterygium—the thin, transparent layer of dead skin attached to the nail plate.
Gel cannot bond to skin. If you paint over microscopic bits of cuticle, the product will lift as the skin produces oils.
Recommended Tooling
- Diamond Bits: Use a fine-grit flame or cylinder bit with an e-file at low RPM (5,000–7,000) to gently exfoliate the cuticle area.
- Manual Tools: A sharp cuticle pusher or curette can scrape away stubborn tissue near the sidewalls.
- Nippers: Only remove non-living tissue that is standing up and detaching.
3. Surface Texture and Keratin Safety
Gel needs a textured surface to mechanically lock onto the nail. However, “roughing up” the nail is a dangerous myth.
You only need to remove the surface shine. Over-filing thins the nail plate, making it flexible and weak. A flexible foundation causes the rigid gel on top to crack and lift.
Use a 180 to 240-grit buffer or sponge file. Buff gently in the direction of the nail growth to raise the keratin scales without removing thickness.
4. Chemical Dehydration and Bonding
Once the dust is removed, you must alter the pH of the nail plate to facilitate bonding. Oil and moisture are barriers to chemical adhesion.
Step-by-Step Chemical Protocol
- Cleansing: Scrub the nail plate with a lint-free wipe saturated in 99% Isopropyl Alcohol or a specialized cleanser. Focus on the sidewalls.
- Dehydrator: Apply a pH bond/dehydrator. It should evaporate instantly, turning the nail chalky white.
- Primer: Use an acid-free primer for standard clients. It acts as double-sided tape. Apply sparingly; flooding the cuticle with primer can actually cause lifting.
5. Base Coat Application Control
The base coat is the anchor. Thick application is a common error. A thick layer of base gel may not cure fully at the bottom, leading to uncured product touching the nail plate.
Scrub the base coat into the nail plate using a gel brush. This “scrubbing” motion forces the product into the keratin grooves you created during buffing.
Ensure you leave a tiny margin (0.5mm) around the cuticle and sidewalls. If the base coat touches the skin, the color and top coat will follow the path, leading to immediate lifting.
6. Capping the Free Edge
Shrinkage happens. As gel polymerizes, it shrinks slightly. If the free edge is not capped (sealed), the gel pulls back, exposing the natural nail tip.
This exposure leads to separation at the free edge, water seep, and eventual chipping. Cap the free edge with the base, color, and top coat.
If the client has extremely short nails, use a detailer brush to seal the edge without getting product on the hyponychium.
7. The Curing Variable
Under-curing is a silent killer of retention. If the lamps in your salon are old or incompatible with your gel brand, the product will not polymerize 100%.
Always use a lamp that matches the nanometer output required by your gel system (usually 365nm + 405nm for LED/UV gels).
Instruct clients on proper hand placement. Thumbs should often be cured separately to ensure the light hits the nail plate directly, not at an angle.
Troubleshooting Checklist for Nail Techs
If a client returns with lifting, analyze the failure point to correct your technique:
- Lifting at the Cuticle: Improper prep or product flooding the skin.
- Lifting at the Free Edge: Failure to cap the edge or over-filed natural nails.
- Pocket Lifting (Center): Nail plate is too flexible or the apex structure is incorrect.
- Entire Shell Popping Off: Inadequate dehydration or lamp failure.
By strictly adhering to these sanitation and application standards, you will significantly reduce service breakdowns and build a loyal clientele who trust your expertise.
