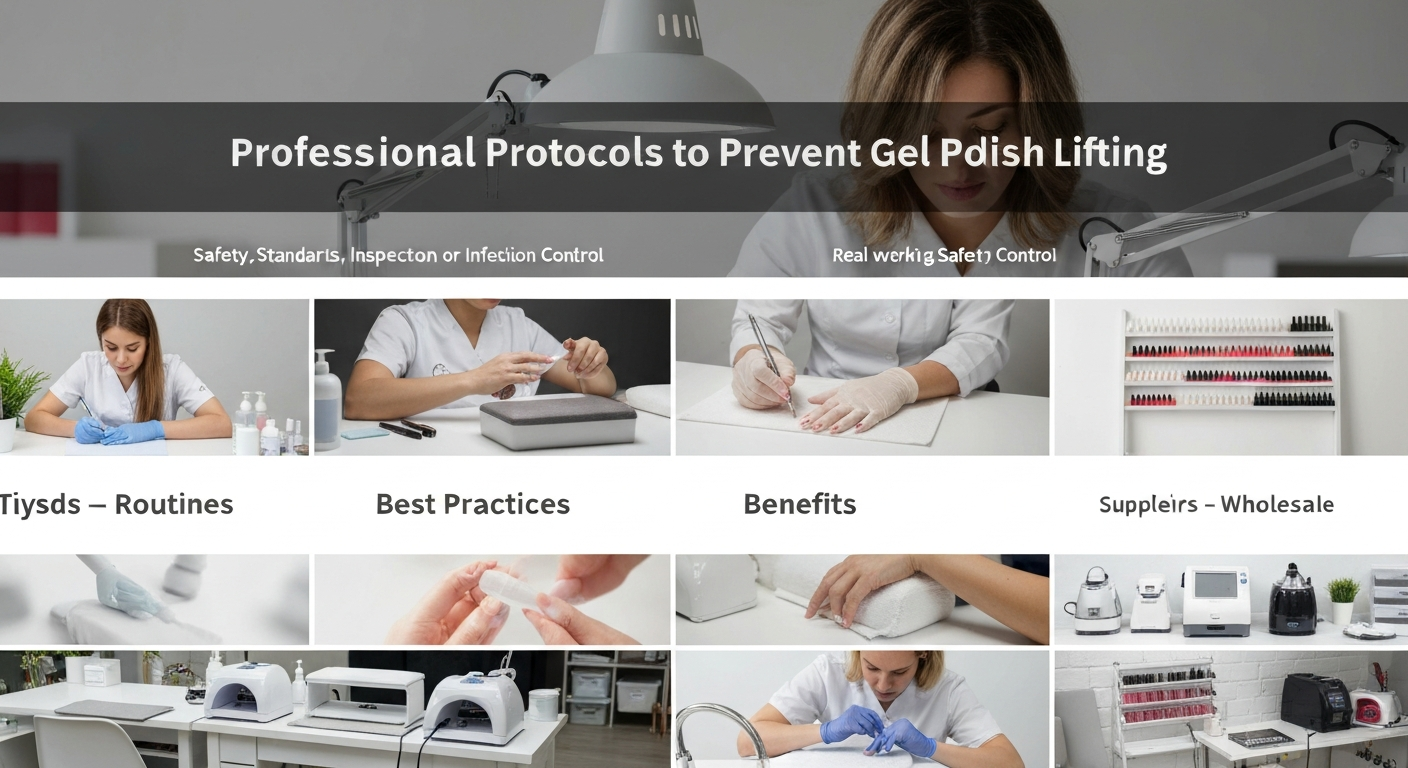
Professional Protocols to Prevent Gel Polish Lifting
For any professional nail technician, service breakdowns are a major frustration. Lifting not only compromises the longevity of the manicure but can also lead to bacterial infections if moisture gets trapped.
Achieving four-week retention requires strict adherence to industry standards. It is not just about the brand of gel you use, but the precision of your preparation and application workflow.
Here are the technical best practices to ensure your gel services stay secure and your clients remain satisfied.
1. Perfection in Cuticle Preparation
The number one cause of lifting is remaining non-living tissue on the nail plate. If gel product sits on top of dead skin rather than the keratin of the nail plate, it will inevitably lift.
You must perform a thorough dry manicure before product application. Soaking the nails adds moisture to the nail plate, which causes it to expand and prevents proper adhesion.
Recommended Prep Steps
- Push Back: Gently push back the proximal nail fold using a sterilized stainless steel pusher to expose the cuticle line.
- Exfoliate: Use a curette or a specialized e-file bit (such as a diamond flame bit) at a low RPM to safely remove the cuticle tissue from the nail plate.
- Dust Removal: Scrub the nail with a manicuring brush to remove all debris. Even microscopic dust can create a barrier between the natural nail and the base coat.
2. Surface Buffing and Grit Selection
Creating a mechanical bond is essential for gel adhesion. The natural nail plate is smooth, and gel needs a textured surface to “grab” onto.
However, over-filing damages the natural nail and thins the plate, making it flexible and prone to product separation. Adhering to safety standards is crucial here.
Use a 180-grit sponge buffer or a mild 240-grit file to gently etch the surface. You only need to remove the surface shine. Do not use coarse grits on the natural nail plate.
3. Chemical Dehydration and pH Balancing
Once the physical prep is done, you must chemically prepare the surface. Oils, moisture, and residue are the enemies of gel polish.
Dehydrator: Apply a dehydrator to the entire nail plate. This evaporates surface moisture and oils. The nail should turn a chalky white color instantly.
Primer/Bonder: Use an acid-free primer for most clients. It acts as double-sided tape. Apply sparingly; flooding the nail with primer can actually cause lifting. It needs to be tacky, not wet.
4. Controlling Product Application
Touching the skin with gel product is a guaranteed way to cause lifting. If gel cures while touching the eponychium or lateral sidewalls, it will lift as the skin moves naturally.
Leave a tiny margin (hairline gap) between the product and the skin. This “safety zone” ensures a clean grow-out and prevents edge lifting.
Base Coat Application
Scrub the base coat into the nail plate. Use your brush to work the product into the etched surface you created. This ensures the gel penetrates the upper layers of keratin.
Keep your layers thin. Thick layers of gel polish do not cure properly and are prone to chipping. Two thin coats are always superior to one thick coat.
5. Capping the Free Edge
Shrinkage occurs when gel polymerizes. If the free edge is not sealed, the gel may pull back, exposing the natural nail tip to water and physical trauma.
Run your brush along the distal edge (free edge) of the nail with every layer—base, color, and top coat. This creates a seal that wraps the product around the nail structure.
Be careful not to create a bulge at the tip. If product pools at the free edge, file it crisp after the final cure to maintain a sharp shape.
6. Proper Curing and Lamp Standards
Under-cured gel is a leading cause of service breakdown and contact dermatitis. If the gel is not fully polymerized, it remains soft near the nail plate and will lift.
Ensure your UV/LED lamp is compatible with your specific gel system. Wattage is not the only factor; the wavelength (nanometers) must match the photo-initiators in your gel.
Check that your client’s hand placement is correct. Ideally, the thumb should be cured separately to ensure the light hits the nail plate directly and not at an angle.
7. Troubleshooting Problematic Nails
Some clients have naturally oily nail plates or “ski-jump” nails that require specialized techniques. Standard prep may not be enough for these cases.
For flexible, thin nails, use a rubber base or a builder gel (BIAB) overlay instead of a standard base coat. This adds structure and moves with the natural nail, preventing cracks.
Always analyze the client’s nail condition during the consultation. Adjusting your product choice based on the nail type is the mark of an expert nail technician.
