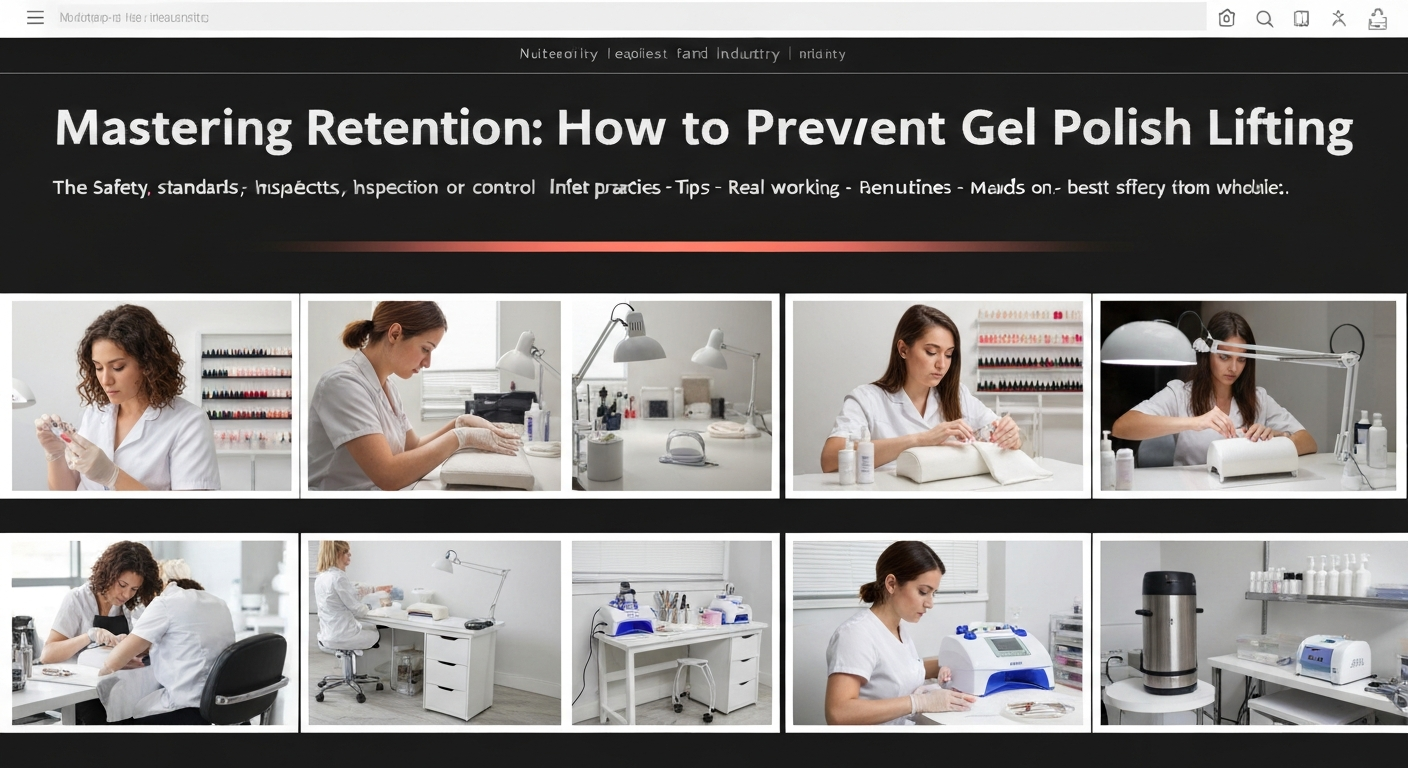
Mastering Retention: How to Prevent Gel Polish Lifting
For any professional nail technician, client retention relies heavily on product retention. Nothing damages a salon’s reputation faster than a gel manicure that peels or lifts within a few days.
Lifting is rarely a product defect; it is almost always a preparation or application error. Mastering the foundational steps of the nail service is crucial for business success.
This guide covers the industry standards for nail plate preparation and product application to eliminate lifting and service breakdowns.
The Foundation: True Cuticle Removal
The most common cause of lifting is the presence of non-living tissue on the nail plate. Even a microscopic film of cuticle can prevent the gel product from bonding properly to the keratin.
Identifying the Pterygium
Many technicians confuse the eponychium (living skin) with the cuticle (dead tissue). The cuticle is the shedding layer of skin that adheres to the nail plate as it grows out.
You must remove the true cuticle from the dorsal layer of the nail plate. If gel is applied over this tissue, it will lift as the skin naturally sheds oils and moisture.
Mechanical Preparation Options
To ensure a clean canvas, you must mechanically exfoliate the nail plate. This can be done using a manual cuticle pusher or an electric file (e-file).
- Manual Method: Use a stainless steel pusher with a sharp edge. Gently scrape the plate to lift dead tissue, then trim excess non-living tissue with nippers.
- E-File Method: Use a diamond cuticle bit (flame or ball) at a low RPM (5,000–8,000). Gently glide over the plate to exfoliate the cuticle without digging into the nail.
Surface Texture and Dehydration
Gel products require a textured surface to anchor effectively. A perfectly smooth, shiny nail plate offers no grip for the base coat polymers.
Buffing the Nail Plate
Use a 180-grit buffer or a sanding band to gently remove the surface shine. The goal is to create micro-channels in the keratin for the product to seep into.
Do not over-file. You only need to remove the shine and oil. Thinning the nail plate weakens the foundation, leading to flexibility that causes rigid gels to crack and lift.
Chemical Dehydration and pH Balancing
Once the dust is removed, chemical preparation is the next critical step. Water and oil are the enemies of adhesion.
- Cleansing: Scrub the nail vigorously with 99% Isopropyl Alcohol or a dedicated nail cleanser using a lint-free wipe. This removes dust and surface oils.
- Dehydrator: Apply a dehydrator to draw out moisture from the layers of the nail plate. The nail should turn chalky white instantly.
- Primer/Bonder: Apply a small amount of non-acid primer. This acts as double-sided tape, bonding the natural keratin to the synthetic gel. Avoid flooding the skin.
Precision Application Techniques
Even with perfect prep, improper application will result in sidewall lifting or pocket lifting at the free edge.
The Margin of Safety
Never allow gel product to touch the skin. If uncured gel touches the sidewalls or eponychium, it creates a ledge.
Once cured, this ledge catches on hair and clothing, pulling the product away from the nail plate. Always leave a hairline margin between the product and the skin.
Capping the Free Edge
Shrinkage occurs as gel polymerizes under LED/UV light. This can pull the product back from the tip, exposing the natural nail.
To prevent tip chipping and separation, you must seal the free edge with every layer: base coat, color, and top coat. Run the brush along the distal edge of the nail to wrap the product around the tip.
Curing Lamp Standards
Undercuring is a silent killer of retention. If the gel is not fully polymerized, it remains soft against the nail plate, leading to lifting and potential allergic reactions.
Check Your Equipment
Ensure your lamp’s wavelength matches your gel system (usually 365nm + 405nm for modern LED gels).
Verify that your client’s hand placement is correct. The thumbs often need to be cured separately to ensure the light hits the entire surface directly.
Summary of Best Practices
To guarantee a 3+ week retention for your clients, incorporate this checklist into your salon workflow:
- Remove all dead cuticle tissue from the nail plate.
- Remove surface shine without thinning the nail.
- Dehydrate and prime to remove oil and moisture.
- Keep product off the skin and sidewalls.
- Cap the free edge on every layer.
- Use a high-quality lamp and ensure proper hand placement.
