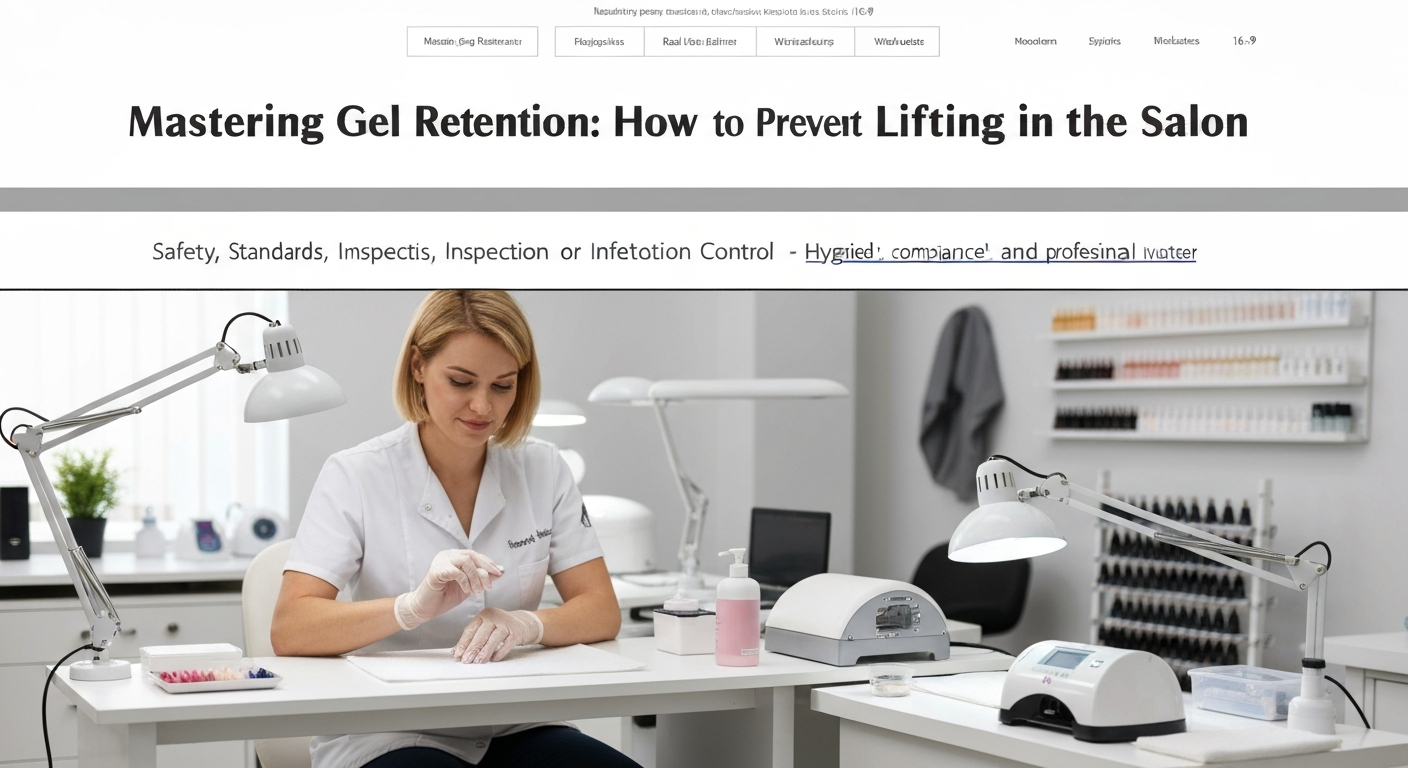
Mastering Gel Retention: How to Prevent Lifting in the Salon
For any professional nail technician, client retention depends heavily on product retention. Nothing damages a salon’s reputation faster than a set of gel nails that lifts after just a few days.
Lifting is rarely a product fault; it is almost always a result of improper preparation or application technique. Understanding the chemistry and mechanics of adhesion is vital for long-lasting services.
This guide covers the industry standards for preventing lifting, ensuring your clients return with their natural nails healthy and their enhancements intact.
The Science Behind Adhesion and Lifting
Gel polish relies on a mechanical and chemical bond to adhere to the keratin of the natural nail plate. When this bond is interrupted, lifting occurs.
Lifting usually happens in two specific areas: the cuticle area (proximal fold) or the free edge. Identifying where the lift starts helps diagnose the technical error.
Identifying the Source of Separation
If the gel lifts at the cuticle area, it is typically due to improper skin removal or product flooding the skin. The cured product separates from the moving skin, creating a gap where water enters.
If the gel peels from the free edge, it often indicates the nail plate was not sealed (capped) effectively, or the natural nail is too flexible for the product used.
The Critical Importance of Nail Plate Preparation
Preparation is the most important step in any nail service. No amount of expensive primer can fix a poorly prepped nail plate.
Proper Cuticle Removal
True cuticle is the dead, non-living tissue attached to the nail plate, not the living eponychium. This transparent layer prevents product adhesion.
- Use a professional cuticle pusher to gently loosen the tissue from the nail plate.
- Use a sharp cuticle nipper or an e-file with a diamond bit to remove the non-living tissue entirely.
- Ensure the side walls are clear of any debris or hardened skin.
Surface Texture and Dehydration
Gel needs a textured surface to grip. A smooth, shiny nail plate will repel the product. However, over-filing damages the nail and thins the foundation.
Use a 180 or 240-grit buffer or file to gently remove the surface shine. You are looking to create a “chalky” appearance, not to remove layers of keratin.
Once buffed, cleanse the nail thoroughly with 99% Isopropyl Alcohol or a pure cleanser. Scrub the plate to remove dust and oils. Apply a pH bond or dehydrator to strip remaining moisture.
Application Techniques That Lock in Color
How you apply the gel is just as critical as how you prep. Bulky application leads to uncured centers and inevitable lifting.
The Base Coat Scrub Method
Many nail technicians apply base coat like a standard polish. To increase adhesion, try the “scrubbing” method.
Take a small amount of base coat and use the brush to firmly massage it into the natural nail plate. This forces the product into the keratin grooves created during prep.
Cure this scrubbing layer fully before applying a slip layer or builder gel if necessary. This creates a superior anchor for the subsequent layers.
Controlling Product at the Cuticle
Leave a tiny margin—hairline thin—between the product and the skin. Ideally, the gel should never touch the proximal nail fold or lateral folds.
If product touches the skin, clean it immediately with a clean brush dipped in alcohol before curing. Once cured on skin, lifting is guaranteed.
Capping the Free Edge Correctly
Sealing the free edge prevents water and oils from penetrating between the natural nail and the product. This must be done on the base coat, color, and top coat.
Do not create a thick ridge at the tip. Run the brush lightly along the distal edge to seal the layers together seamlessly.
Curing Lamps and Polymerization Issues
Undercured gel is a safety hazard and a primary cause of service breakdown. Using the wrong lamp for your gel system compromises the service.
Check your equipment regularly:
- Ensure your LED or UV lamp matches the wavelength requirements of your gel brand (usually 365nm to 405nm).
- Check that all bulbs are functioning and clean of dried gel residue.
- Instruct clients on proper hand placement so thumbs and pinkies cure evenly.
Educating Clients on Aftercare
Even a perfect application can fail if the client mistreats their nails. Part of your job as a nail professional is client education.
Advise clients to wear gloves when washing dishes or using cleaning chemicals. Remind them that nails are “jewels, not tools.”
By strictly following these sanitation and application standards, you will minimize lifting, protect the integrity of the natural nail, and build a loyal clientele.
