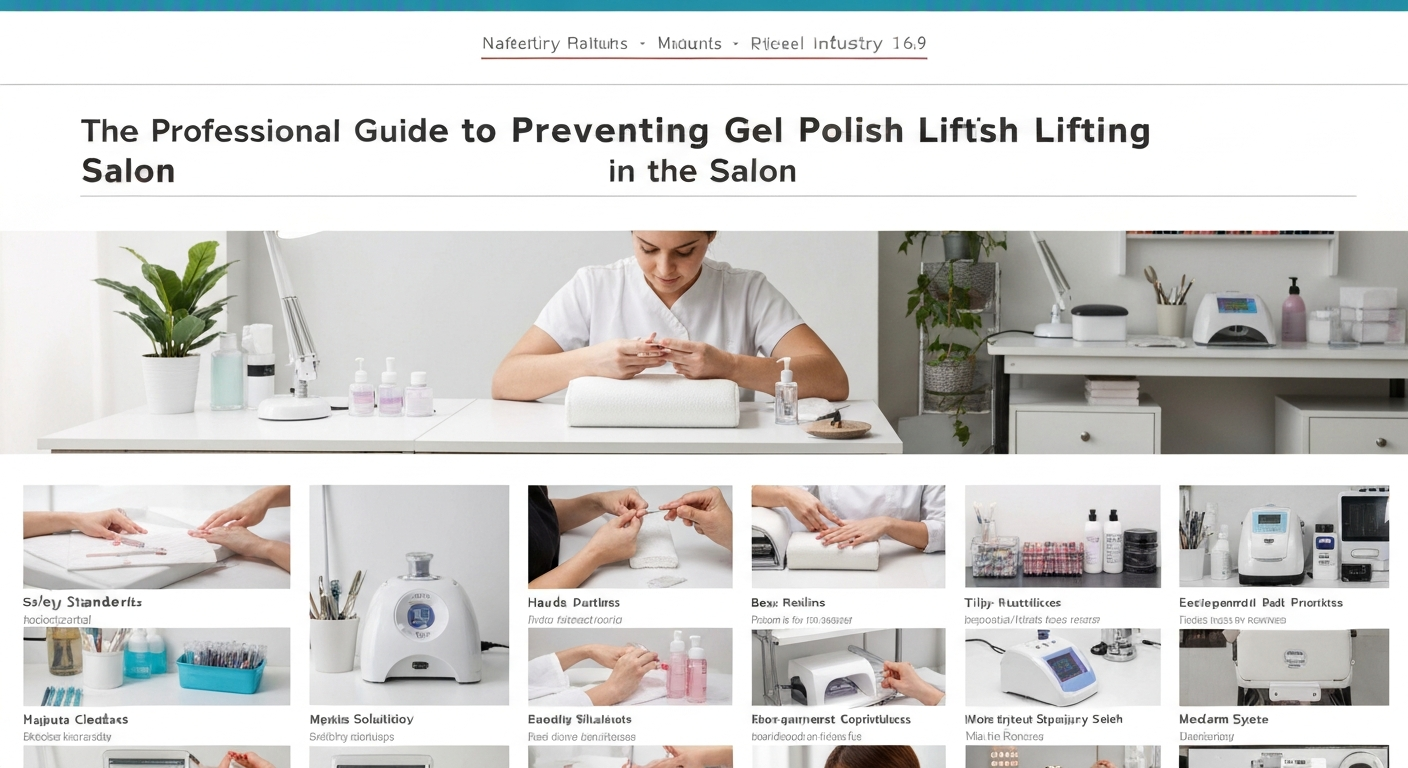
The Professional Guide to Preventing Gel Polish Lifting in the Salon
Client retention is the backbone of a successful nail salon business. Nothing damages a nail technician’s reputation faster than a set of gel nails that lifts within a few days.
Lifting not only leads to free repairs and lost revenue but also exposes clients to potential “greenies” (pseudomonas) if moisture gets trapped. Mastering retention requires strict adherence to chemistry and protocol.
Here are the definitive technical reasons why gel polish lifts and the professional standards to correct them.
1. Incomplete Cuticle Prep and Pterygium Removal
The most common cause of lifting is applying product over dead skin on the nail plate. While the eponychium (living skin) must be respected, the true cuticle is the dead tissue shedding onto the plate.
If even a microscopic layer of pterygium remains, the gel bonds to the skin, not the keratin of the nail. The skin naturally sheds and produces oil, causing the product to separate.
Best Practices for Prep
- Use a Cuticle Remover: Apply a professional-grade cuticle softener to loosen stubborn tissue before pushing back the proximal nail fold.
- E-File Exfoliation: For dry manicures, use a diamond bit (flame or ball) at a low RPM to safely exfoliate the cuticle area without ringing of fire.
- Manual Removal: Use a sharp cuticle pusher or curette to scrape away the invisible film of skin near the sidewalls and sinuses.
2. Insufficient Surface Dehydration
The natural nail plate contains oils and moisture that act as a barrier to adhesion. Gel products are hydrophobic; they repel water. If the plate is “wet” with oil or water, the chemical bond cannot form.
Many technicians skip this step or use low-quality cleansers that leave a residue.
The Two-Step Dehydration Standard
To ensure a chemically sound surface, follow this workflow:
- Mechanical Etching: Gently remove the surface shine using a 180 or 240-grit buffer or file. This increases surface area for the product to grip.
- Chemical Dehydration: Scrub the nail plate with 99% Isopropyl Alcohol or a pure acetone mixture using a lint-free wipe. Scrubbing is more effective than spraying.
- Ph Bond/Primer: Apply a bonding agent specifically designed for your gel system. Avoid touching the skin, as this can cause contact dermatitis and lifting.
3. Improper Application Thickness
Applying gel polish too thickly prevents the UV/LED light from penetrating through to the bottom layer. This results in an under-cured center, leading to wrinkling and lifting.
Thick layers also tend to flood the cuticles and sidewalls. Once cured, any product touching the skin will create a ledge that catches on hair and clothes, pulling the product away from the nail.
Control Your Bead
Wipe one side of the brush completely flat against the bottle neck. Keep a small bead on the other side. This ensures you are working with a controlled amount of product.
Apply thin, even coats. It is better to apply three thin coats that fully cure than two thick coats that remain gummy underneath.
4. Neglecting to Cap the Free Edge
Nails endure constant trauma from typing, cleaning, and daily use. If the free edge is left exposed, the natural nail can pull away from the rigid gel layer (delamination).
Shrinkage occurs naturally during the polymerization process. If you do not seal the edge, the gel shrinks back, leaving the tip vulnerable to chipping and lifting.
Technique for Capping
Run the brush along the free edge of the nail before painting the surface of the nail plate. This prevents a bulbous ridge at the tip.
Ensure you cap every layer: base coat, color coats, and top coat. This encases the natural nail completely.
5. Curing Lamp Malfunctions or Misuse
Not all UV/LED lamps are created equal. Using a lamp that does not match your gel system’s photo-initiators is a recipe for service breakdown.
If the wattage is too low or the bulbs are old, the gel will not reach a full chemical cure, even if it feels hard to the touch.
Equipment Maintenance Checklist
- Check Nanometer Range: Ensure your lamp’s wavelength output matches the requirements of your gel brand (usually 365nm to 405nm).
- Hand Placement: Instruct clients to place their hand flat with fingers spread. The thumbs should often be cured separately to ensure direct light exposure.
- Clean the Reflective Base: Cured gel residue on the base plate or bulbs reduces light reflection and curing intensity. Clean your equipment daily.
Summary
Preventing lifting is rarely about changing brands; it is about refining technique. By focusing on meticulous prep, controlling product application, and maintaining your equipment, you can guarantee sets that last 3 to 4 weeks.
Consistent results build trust, justify price increases, and keep your appointment book full.
