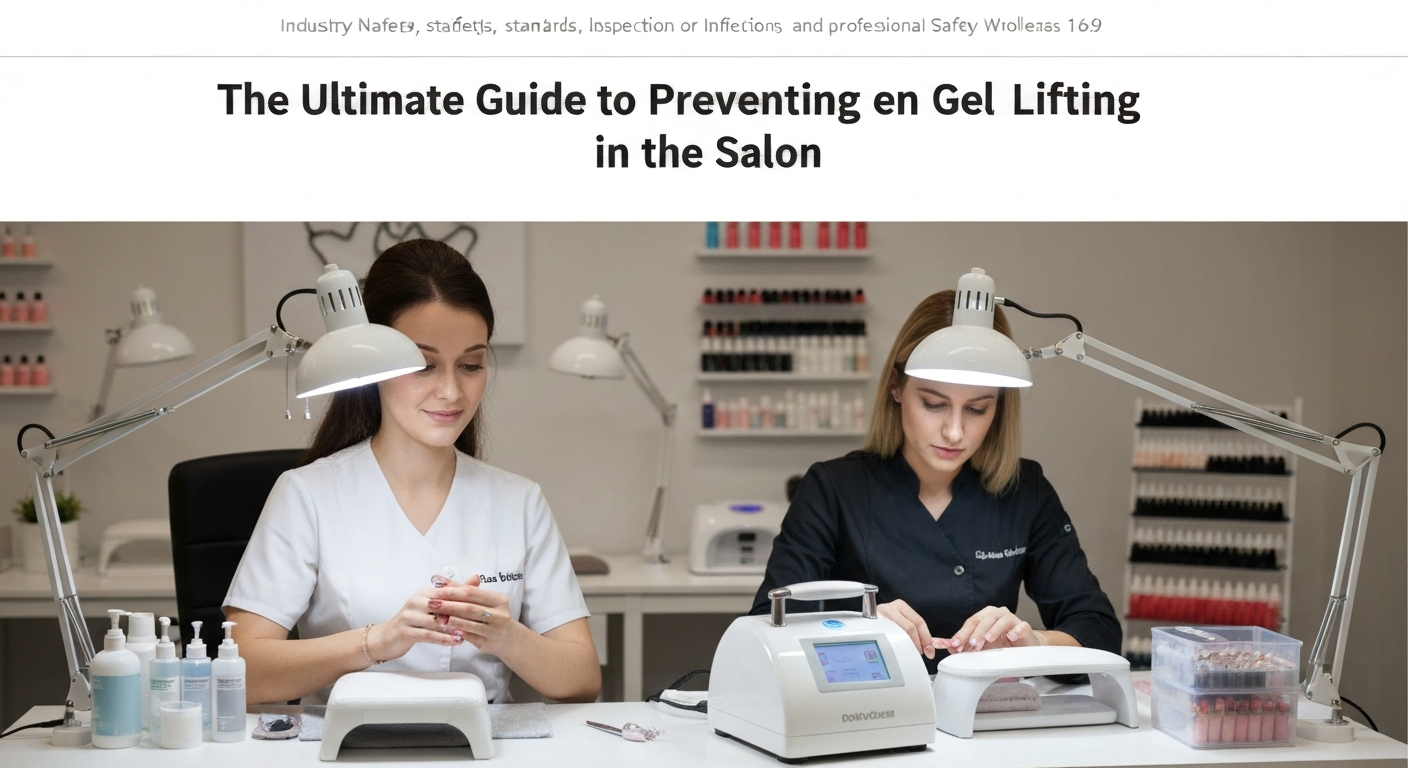
The Ultimate Guide to Preventing Gel Lifting in the Salon
For any professional nail technician, service longevity is the ultimate test of skill. Nothing frustrates a client more than a set of gels that begins to lift after only a few days.
Lifting not only damages your reputation but also compromises the health of the natural nail by inviting bacterial infections like “greenies.”
Mastering retention requires a strict adherence to chemical principles and precise mechanical preparation. Here is how to stop lifting before it starts.
1. The Foundation: Meticulous Nail Plate Preparation
90% of lifting issues originate in the preparation stage. If the foundation is unstable, the best builder gel or acrylic product in the world will fail.
Many technicians rush this step to save time, but it is the most critical part of the service workflow.
Removing the True Cuticle
The most common cause of lifting near the eponychium is the failure to remove the invisible layer of true cuticle (pterygium) stuck to the nail plate.
Simply pushing back the proximal nail fold is not enough. You must exfoliate the dead tissue from the plate using the correct tools.
- Use a cuticle pusher: Gently lift the fold to expose the nail plate.
- E-file exfoliation: Use a fine-grit diamond bit (flame or cylinder) at a low RPM to safely remove non-living tissue.
- Check your work: Dust the nail thoroughly. Any white residue left on the plate is cuticle that will cause the product to lift.
Surface Texture and Etching
Gel products need a textured surface to mechanically interlock with the keratin layers of the natural nail. A smooth, shiny nail plate is the enemy of adhesion.
Use a 180-grit buffer or a sanding band to gently remove the surface shine. You do not need to thin the nail; you only need to create a rough surface for the product to grip.
2. Chemical Preparation: pH Balancing and Priming
Once the mechanical prep is done, you must alter the chemical environment of the nail plate to accept the artificial product.
Oils, moisture, and dust act as barriers between the keratin and the gel polymer.
Dehydration is Mandatory
Before applying any adherence product, scrub the nail plate with 99% Isopropyl Alcohol or a pure acetone-based cleanser.
This step removes surface oils and temporarily dehydrates the nail plate. Wait until the nail turns a chalky white color, indicating the moisture has evaporated.
Selecting the Right Primer
Primers act as double-sided tape, bonding to the keratin on one side and the gel on the other. Using the wrong primer can lead to service breakdown.
- Acid-Free Primer: The industry standard for gel polish and builder gels. It acts like a sticky anchor.
- Acid Primer: Rarely used for gel, but occasionally necessary for clients with extremely oily nail plates. Use sparingly.
- Application Control: Apply primer only to the natural nail. Flooding the skin with primer can cause chemical burns and subsequent lifting.
3. Application Control: The Zone of Safety
Even with perfect prep, poor product application will result in lifting. The product must remain strictly on the nail plate.
Respect the Sidewalls and Cuticle Area
If uncured gel touches the skin, cuticle, or sidewalls, it will inevitably lift. Skin produces oils naturally. Once the oil seeps under the cured gel, the separation begins.
Leave a tiny margin (about 1mm) between the product and the skin. A clean margin is invisible to the untrained eye but creates a sealed barrier against lifting.
Properly Capping the Free Edge
Typing, texting, and daily use wear down the free edge of the nail. If the tip is not sealed, the gel will peel back from the front.
Run your brush along the free edge of the nail to “cap” it. This wraps the gel around the tip, preventing water and debris from entering between the natural nail and the enhancement.
4. Curing Lamp Standards
Undercured gel is soft and flexible, leading to immediate pulling away from the nail plate. It is also a leading cause of contact dermatitis.
Ensure your LED or UV lamp is compatible with your specific gel system. Wavelengths vary between brands, and a generic lamp may not fully cure professional-grade builder gels.
- Check bulb positioning: Ensure the client’s thumb is curing properly, not resting in a “blind spot.”
- Verify curing times: Adhere strictly to the manufacturer’s recommended time (usually 30 or 60 seconds).
- Replace units regularly: Lamps lose intensity over time. If retention suddenly drops across multiple clients, check your equipment.
5. Client Aftercare Education
Sometimes, the lifting is not the technician’s fault. Educating clients on how to treat their nails is part of a professional salon service.
Jewels, not tools: Remind clients not to use their nails to open cans or peel stickers. Stress on the free edge causes the product to flex and detach.
Oil daily: Advise clients to use high-quality cuticle oil daily. This keeps the product flexible and prevents the natural nail from curling away from the rigid gel overlay.
