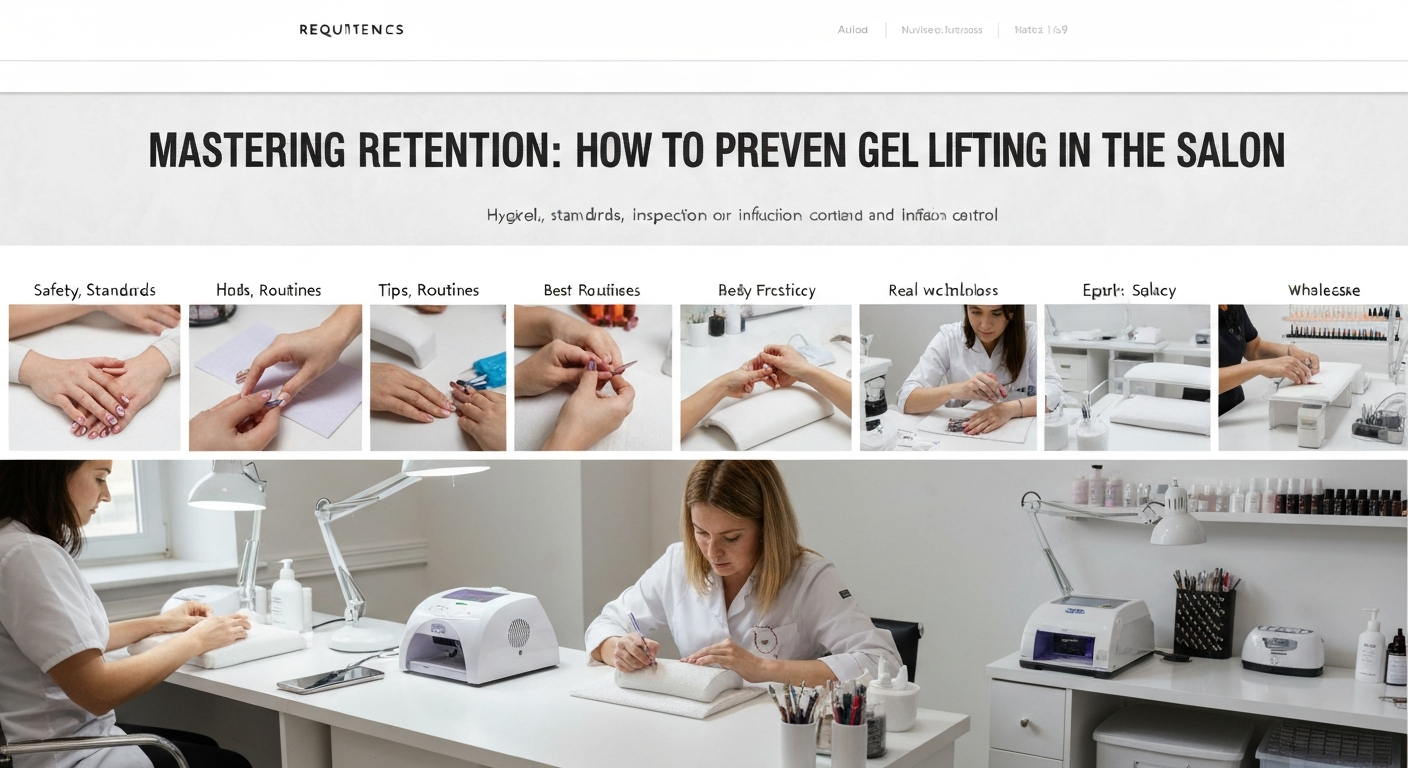
Mastering Retention: How to Prevent Gel Lifting in the Salon
For any professional nail technician, client retention depends heavily on product retention. Nothing damages a nail salon’s reputation faster than a set of gels that lift after a few days.
Lifting at the cuticle or free edge is rarely a product fault; it is almost always an issue with preparation or application technique. Mastering the chemistry and mechanics of adhesion is non-negotiable.
Here are the industry standards and practical tips to ensure your gel manicures, builder gels, and structured overlays stay secure until the next fill.
1. Perfection in Cuticle Preparation
The number one cause of lifting is non-living tissue remaining on the nail plate. Even a microscopic layer of cuticle acts as a barrier between the natural keratin and the gel product.
You must differentiate between the eponychium (living skin) and the true cuticle (dead tissue on the plate). Adhesion products cannot bond to skin or oils.
Effective Removal Techniques
Utilize a professional pusher to gently lift the proximal nail fold and expose the cuticle. This creates the necessary “pocket” for your application.
If you are e-file trained, use a fine-grit diamond bit (flame or ball) at a low RPM (forward mode) to gently exfoliate dead tissue from the nail plate and lateral folds.
Tip: Always brush away dust downwards. Dust trapped in the sidewalls will mix with your base coat and cause immediate service breakdown.
2. Mechanical and Chemical Adhesion
Gel products need a textured surface to grip onto. Buffing the nail plate shouldn’t thin the nail, but it must remove the surface shine entirely.
Use a 180 or 240-grit buffer or sanding band. Focus on the cuticle area and the sides, as these are the most common lifting points.
Balancing the pH
Once the dust is removed, you must dehydrate the nail plate. Use a lint-free wipe saturated with 90% Isopropyl Alcohol or a specialized nail dehydrator.
Apply a nail primer suited to your gel system. Non-acid primers act like double-sided tape and are industry standard for gel polish. Acid-based primers are generally reserved for difficult acrylic clients.
Warning: Do not flood the cuticle with primer. Using too much primer can actually decrease adhesion and cause chemical burns on the surrounding skin.
3. The Scrubbing Method for Base Coats
Simply painting the base coat like a traditional lacquer is often insufficient for problem lifters. You need to force the product into the keratin layers.
Use a separate, flat gel brush for your clear base application. Apply a small amount of product and use firm pressure to “scrub” the gel into the roughened nail plate.
This technique ensures that the gel penetrates the micro-grooves created during your prep work, creating a superior mechanical bond upon curing.
4. Controlling Product Placement
Touching the skin with gel is the kiss of death for retention. If wet gel touches the eponychium or sidewalls, it will lift as the skin naturally moves and sheds oils.
Leave a tiny margin—hairline thin—between the product and the skin. This “safety gap” is invisible to the untrained eye but crucial for seal integrity.
Flash Curing
If you struggle with gel running into the sidewalls before you can get the hand into the lamp, work on one or two nails at a time.
Flash cure the product for 10 seconds to freeze it in place before moving to the next finger. This maintains the structure and prevents flooding.
5. Curing Lamp Maintenance
Under-cured gel is a safety hazard and a leading cause of lifting. If the gel is not fully polymerized, it will peel away from the nail plate.
Ensure your lamp matches the wavelength requirements of your gel system (usually 365nm + 405nm for modern LED/UV gels).
Daily Check: Inspect your lamp bulbs. If they are dim or covered in cured gel residue, the light cannot penetrate the product effectively.
instruct clients on proper hand placement. Their fingers must be flat and centered under the diodes, not tilted, to ensure a complete cure of the thumbs and pinkies.
