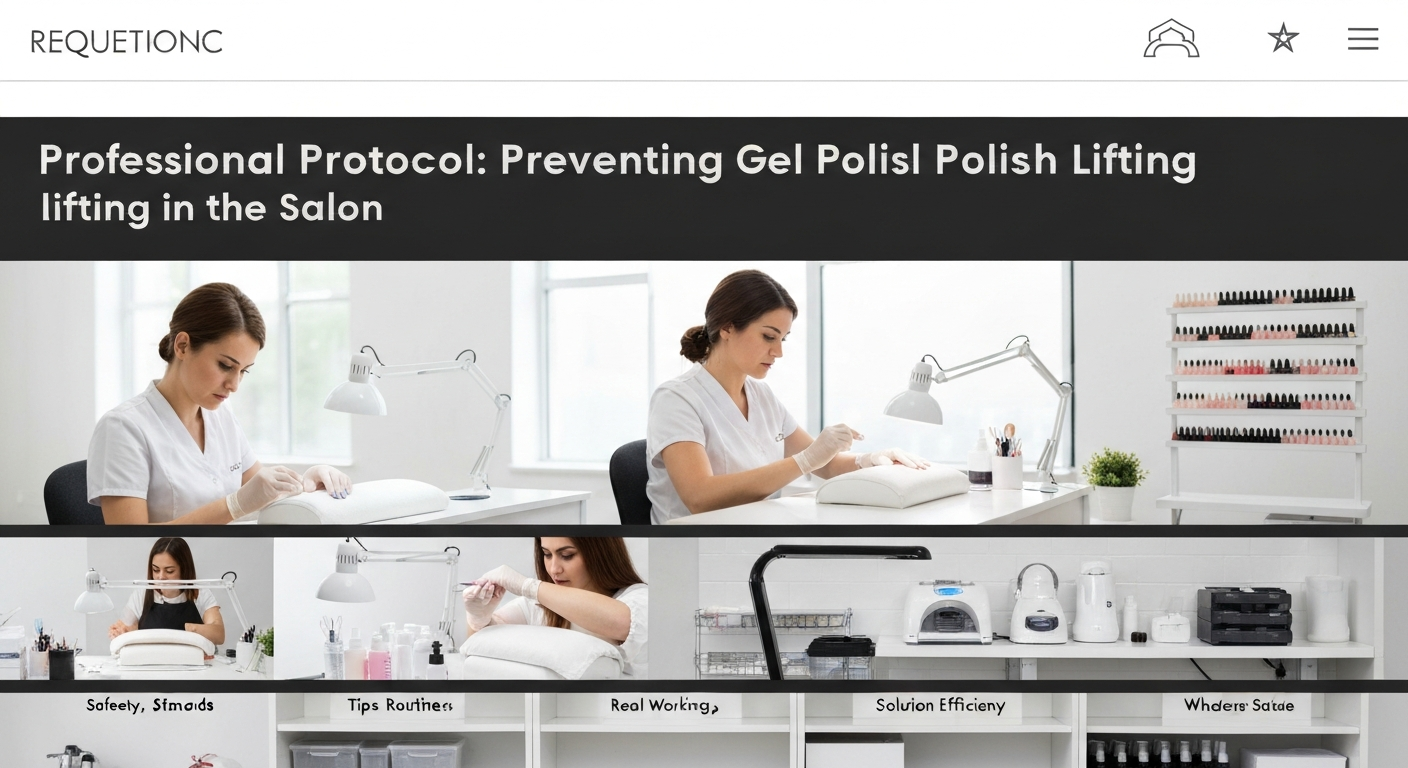
Professional Protocol: Preventing Gel Polish Lifting in the Salon
Service breakdown is the number one cause of client loss in the nail industry.
When gel polish lifts within days, it indicates a failure in the preparation or application workflow.
Mastering retention requires adhering to strict chemical and mechanical standards.
1. Mechanical Preparation: Addressing the True Cuticle
The most common cause of lifting is applying product over non-living tissue.
Technicians often confuse the eponychium (living skin) with the cuticle (dead tissue).
Product applied over the cuticle will inevitably lift as the tissue sheds or absorbs oil.
Using the Right Tools for Exfoliation
A standard orange wood stick is often insufficient for heavy cuticle buildup.
Utilize a stainless steel pusher or a curette to gently scrape the nail plate.
For dry manicures, a fine-grit diamond flame bit is essential for exfoliation.
Buffing the Nail Plate
Gel requires a textured surface for mechanical adhesion.
Gently remove the surface shine using a 180 or 240-grit buffer or sanding band.
Ensure you buff near the sidewalls and proximal fold where lifting starts.
2. Chemical Preparation: Cleansing and Balancing
Once the dust is removed, chemical preparation ensures a receptive surface.
Water and oils are the enemies of gel polymerization and adhesion.
Dehydration is Mandatory
Use a pure acetone or alcohol-based cleanser to strip surface oils.
Apply a dehydrator to the natural nail plate until it appears chalky white.
Do not touch the nail plate with your fingers after this step.
Selecting the Correct Primer
Primers act as a chemical bridge between the keratin and the gel product.
Acid-free primer acts like double-sided tape and is standard for most gels.
Acid primer (methacrylic acid) etches the nail chemically but should be used sparingly.
3. Base Coat Application Control
The base coat is the foundation of the entire service.
Applying it too thickly or incorrectly will undermine the structure.
The Scrubbing Technique
Do not simply float the base coat over the nail plate.
Use the brush to “scrub” a thin layer of base gel into the keratin fibers.
This ensures maximum contact and creates a solid anchor for color coats.
Avoiding the Sidewalls and Eponychium
Flooding the skin is an immediate sentence for service failure.
Once cured gel touches skin, it creates a ledge that catches hair and water.
Leave a hairline margin between the product and the skin for a clean seal.
4. Capping the Free Edge
Every layer of product must wrap around the distal edge of the nail.
This technique seals the natural nail layers together.
It prevents water from soaking into the nail plate from the tip.
Steps for proper capping:
- Wipe the brush so it has very little product.
- Run the brush perpendicular to the free edge.
- Check the underside of the nail to ensure no bulk has accumulated.
5. Curing Lamp Maintenance and Usage
Undercured gel is a safety hazard and a primary cause of lifting.
If the photo-initiators in the gel do not activate fully, the bond remains weak.
Check Your Wavelengths
Ensure your lamp matches the curing requirements of your gel brand (UV vs. LED).
Most modern professional systems require a 36W or 48W LED unit.
Bulbs degrade over time; replace UV bulbs regularly or test LED output.
Hand Placement
Educate your clients on proper hand placement inside the unit.
Thumbs should often be cured separately to ensure direct light exposure.
Misalignment prevents light from reaching the sidewalls, leading to side lifting.
